Castlands Road:
How we built a house in a Lewisham back garden
This is a straightforward account of how we designed and built our own house on a back-garden site in Lewisham, south London. It’s written plainly, with the practical detail left in, in the hope its useful for others to read who may be considering the same. If you’re weighing up whether self-build is realistic, or trying to understand what’s actually involved, this is how it worked for us.
Having gone through the process ourselves, we now work with others considering small-site and self-build projects, and this account reflects the questions we’re most often asked at the very start.
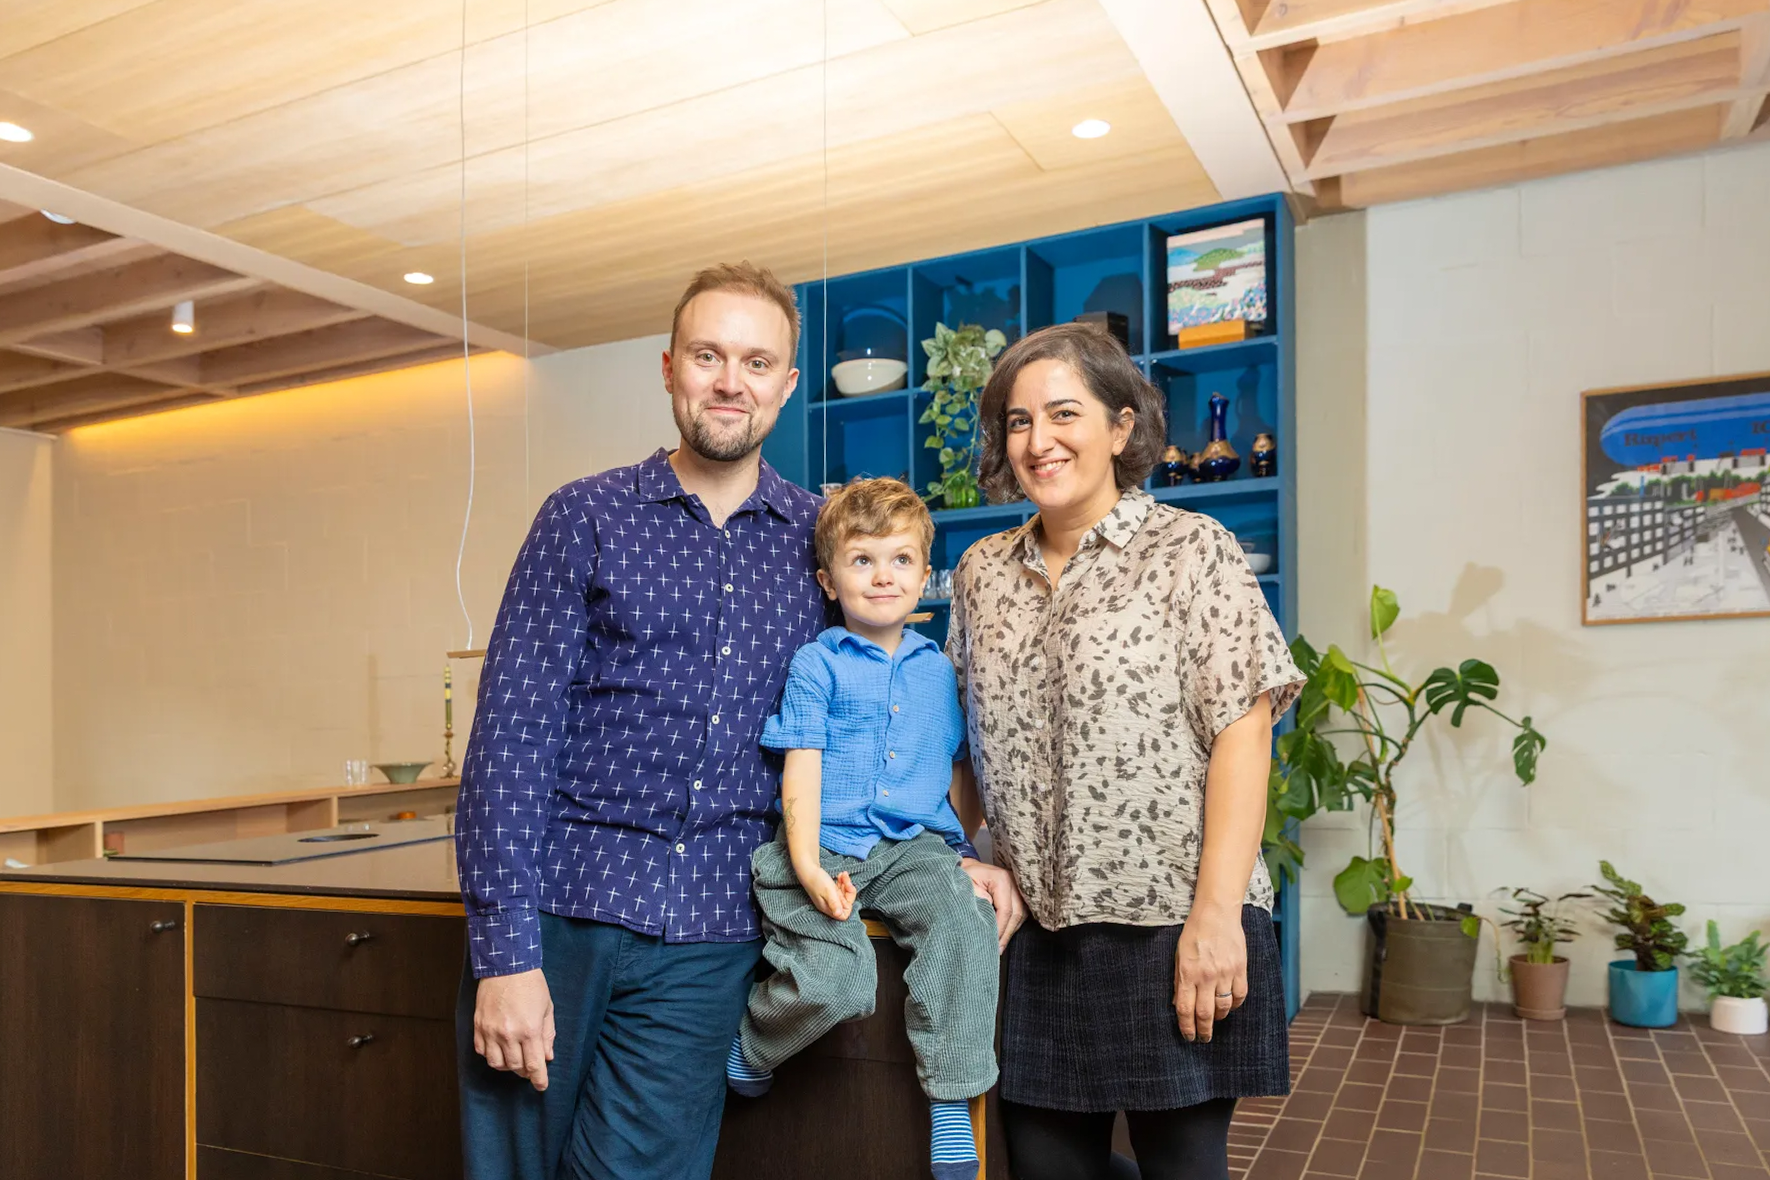
Our story started in 2020, we were living in a one-bedroom flat in Forest Hill and wanted space for our family to grow. Like many people, we found that buying a family house in the area we already lived in simply wasn’t affordable without compromise. The properties we could stretch to needed extensive work, and even then the outcome felt constrained.
We considered moving further out of London, but that didn’t feel like the right answer. Buying something compromised felt like locking in a poor outcome. Self-build became the most direct way of staying put while making a home that genuinely worked for us.
Finding the land
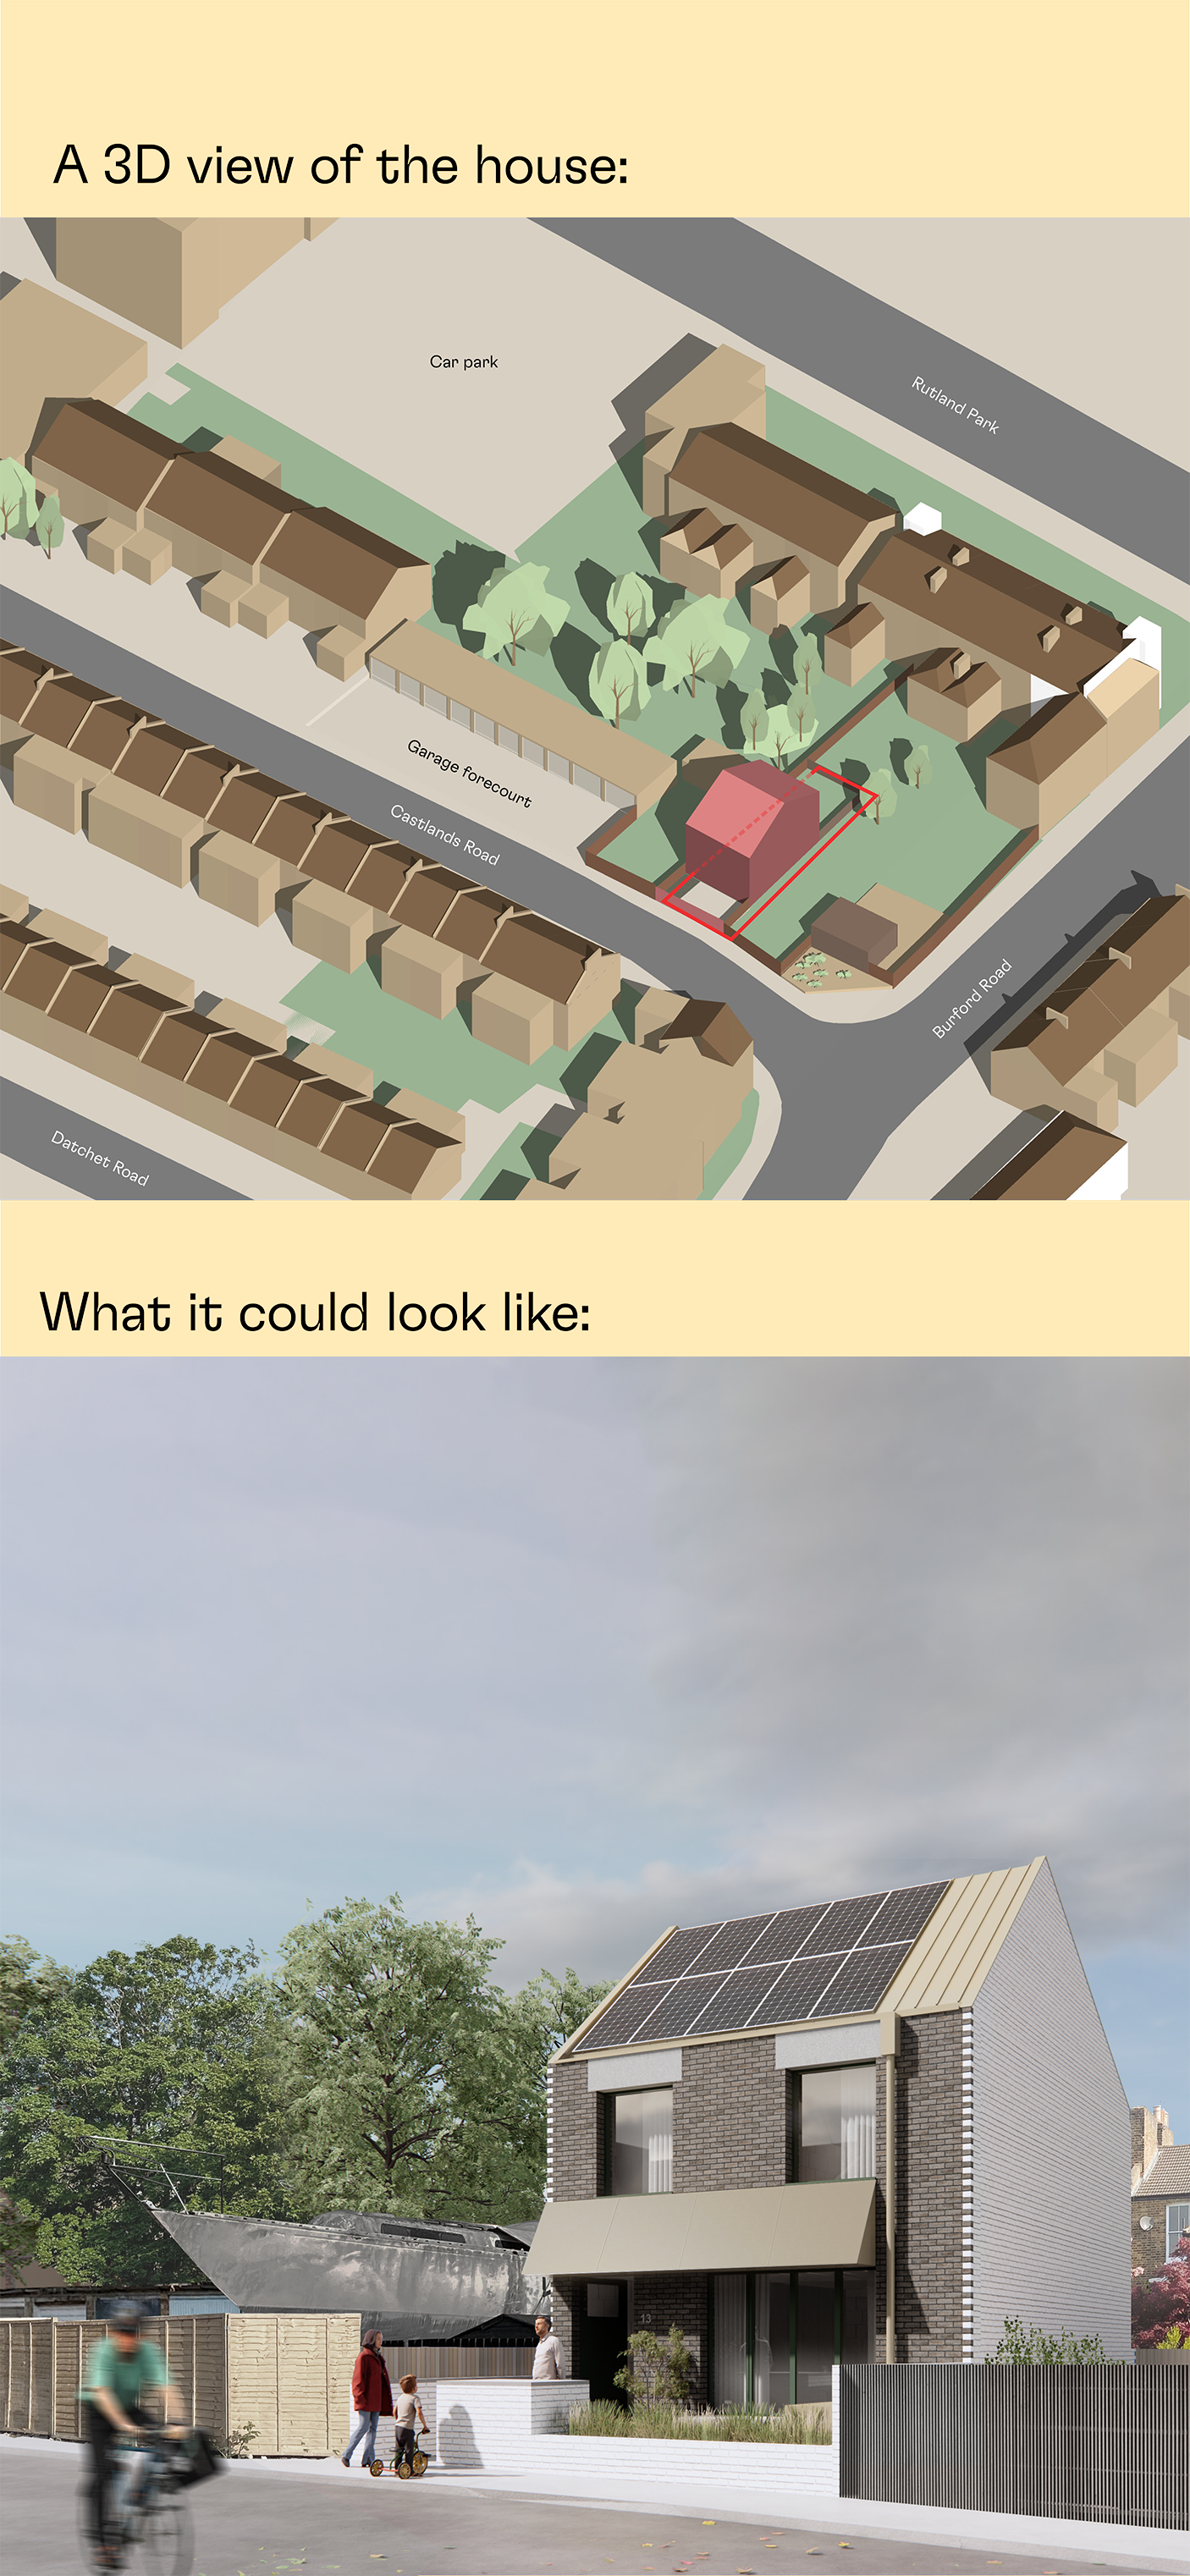
The land came first, although it was not a neat plot listed with an agent or an obvious development site. It was a long back garden in Catford, backing onto another street, which we found ourselves before contacting the owner directly.
There are a lot of sites like this across London: deep gardens, awkward backlands and leftover bits of land that are often underused or badly looked after, even where local policy is broadly supportive of small sites and infill development. It is worth reading the policy properly, because the opportunity is often there, but you need to understand what it actually supports and where the limits are.
We used Google Earth to spot deep plots and LandInsight to check ownership, but what made the difference was walking the streets, looking carefully and posting letters. Most of those letters went nowhere, some led to conversations, and eventually one led to a site. It is slow and repetitive, but it casts a wide net and gets you speaking directly to people who were not necessarily planning to sell.
The site already had planning history, including a refused application, which could easily have looked like a red flag. In practice, it was useful because the council had not objected to the principle of a house, but to the quality and approach of the previous design, which was a weak pastiche and did not deal properly with the site. That distinction shaped the proposal. With small sites, understanding why something failed is often more valuable than starting from scratch.
Securing the plot
We were careful not to over-commit financially at this stage. Rather than buying the land outright, we agreed an option agreement with the owner for eighteen months and made an offer of £200,000, at this time it was important to get a solicitor involved. The option agreement gave us time to apply for planning without risking the proceeds from selling our flat. If planning had failed, we would have walked away.
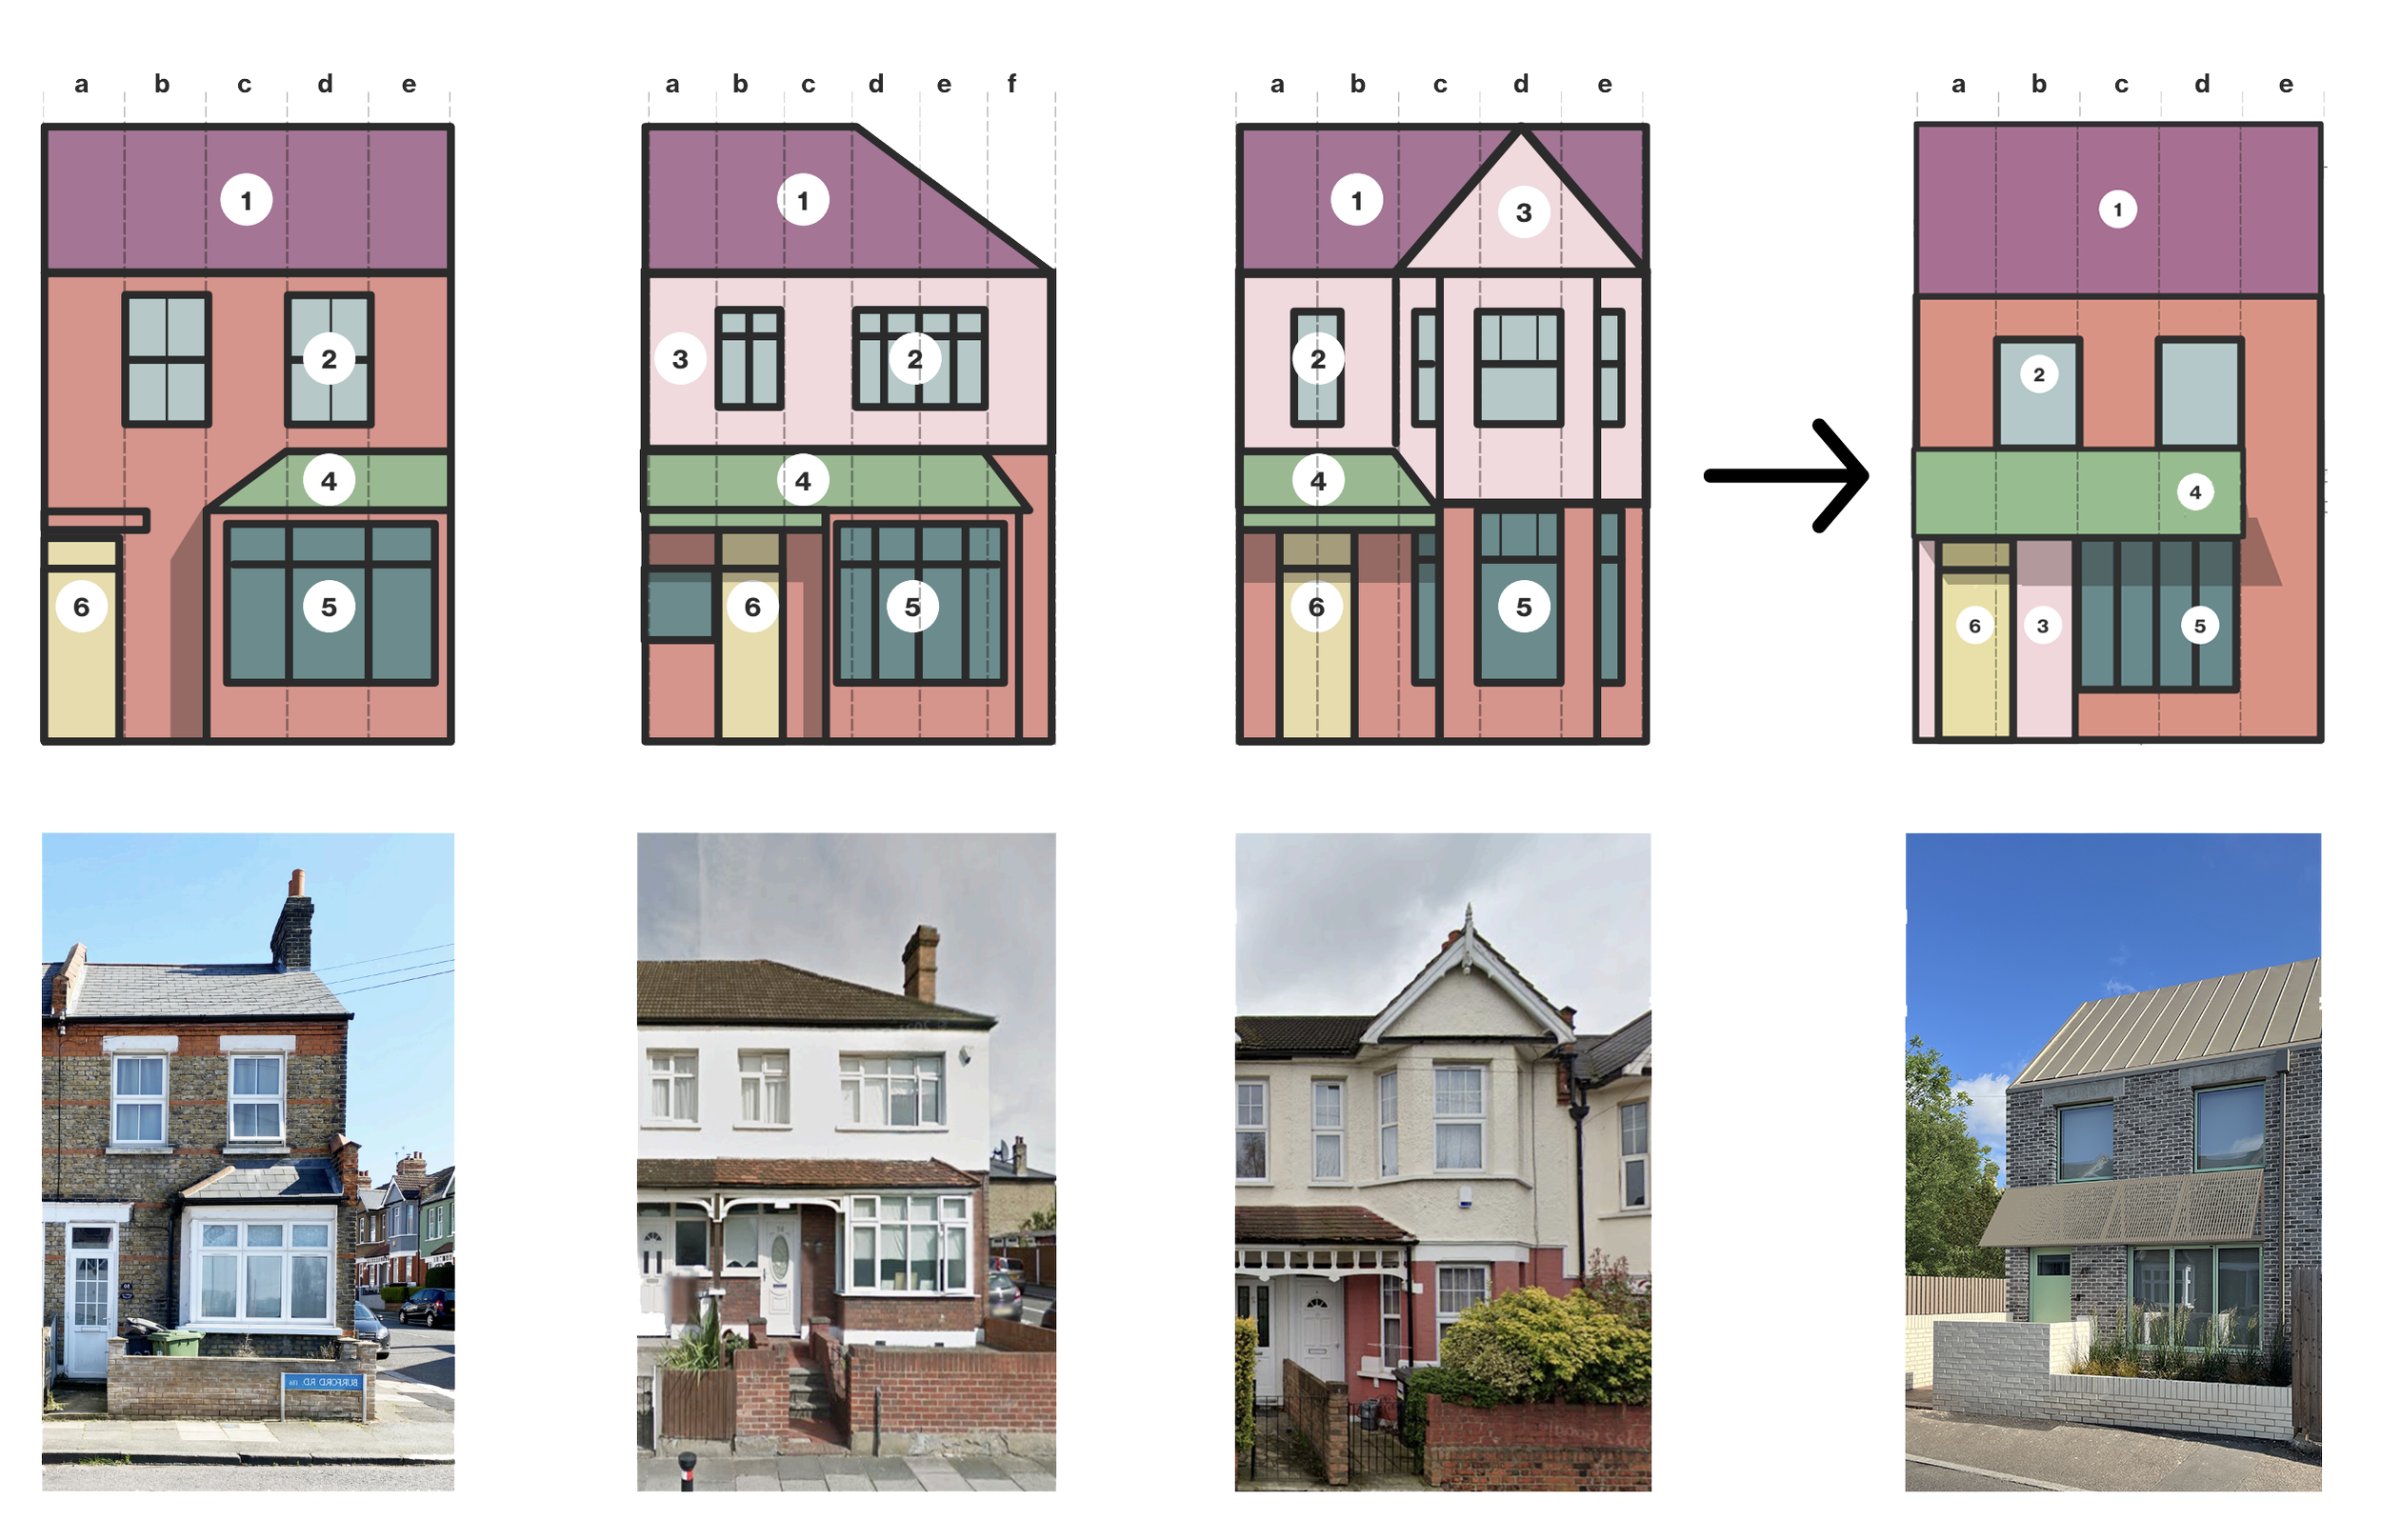
Planning consent came through quickly, in around eight weeks, under delegated powers. The design responded carefully to local policy, and we held a pre-application meeting with planning officers. We walked a fine line between making spaces that worked for us, were high quality, and were still affordable to build. Finding the right outcome here is exactly where an experienced architect is useful.

Consultation and neighbours
We consulted neighbours ahead of submitting the application. Because the site backed onto another street where rear fences had become fly-tipping spots, most neighbours could see that a well-designed house would improve things rather than make them worse.
We didn’t try to squeeze the maximum possible floor area out of the plot, and we didn’t dress the building up as something it wasn’t. On small sites, a clear and restrained approach often travels further than cleverness. Whilst there were some comments and occasional frustrations from neighbours, this is an entirely normal reality of constructing a house near to existing homes. Overall the experience with the local community was overwhelmingly positive.
Going out to tender
Once planning was secured, we priced the build properly and hit our first major hurdle. Contractor quotes came back at around £550,000, well beyond what we could afford. These figures were higher than the value of existing houses on the street and were largely driven by the quality of construction we wanted.
At this point, the project either needed to be simplified, stripping away materials and moments that mattered to us, or cancelled altogether. This is a point where many self-build projects stop.
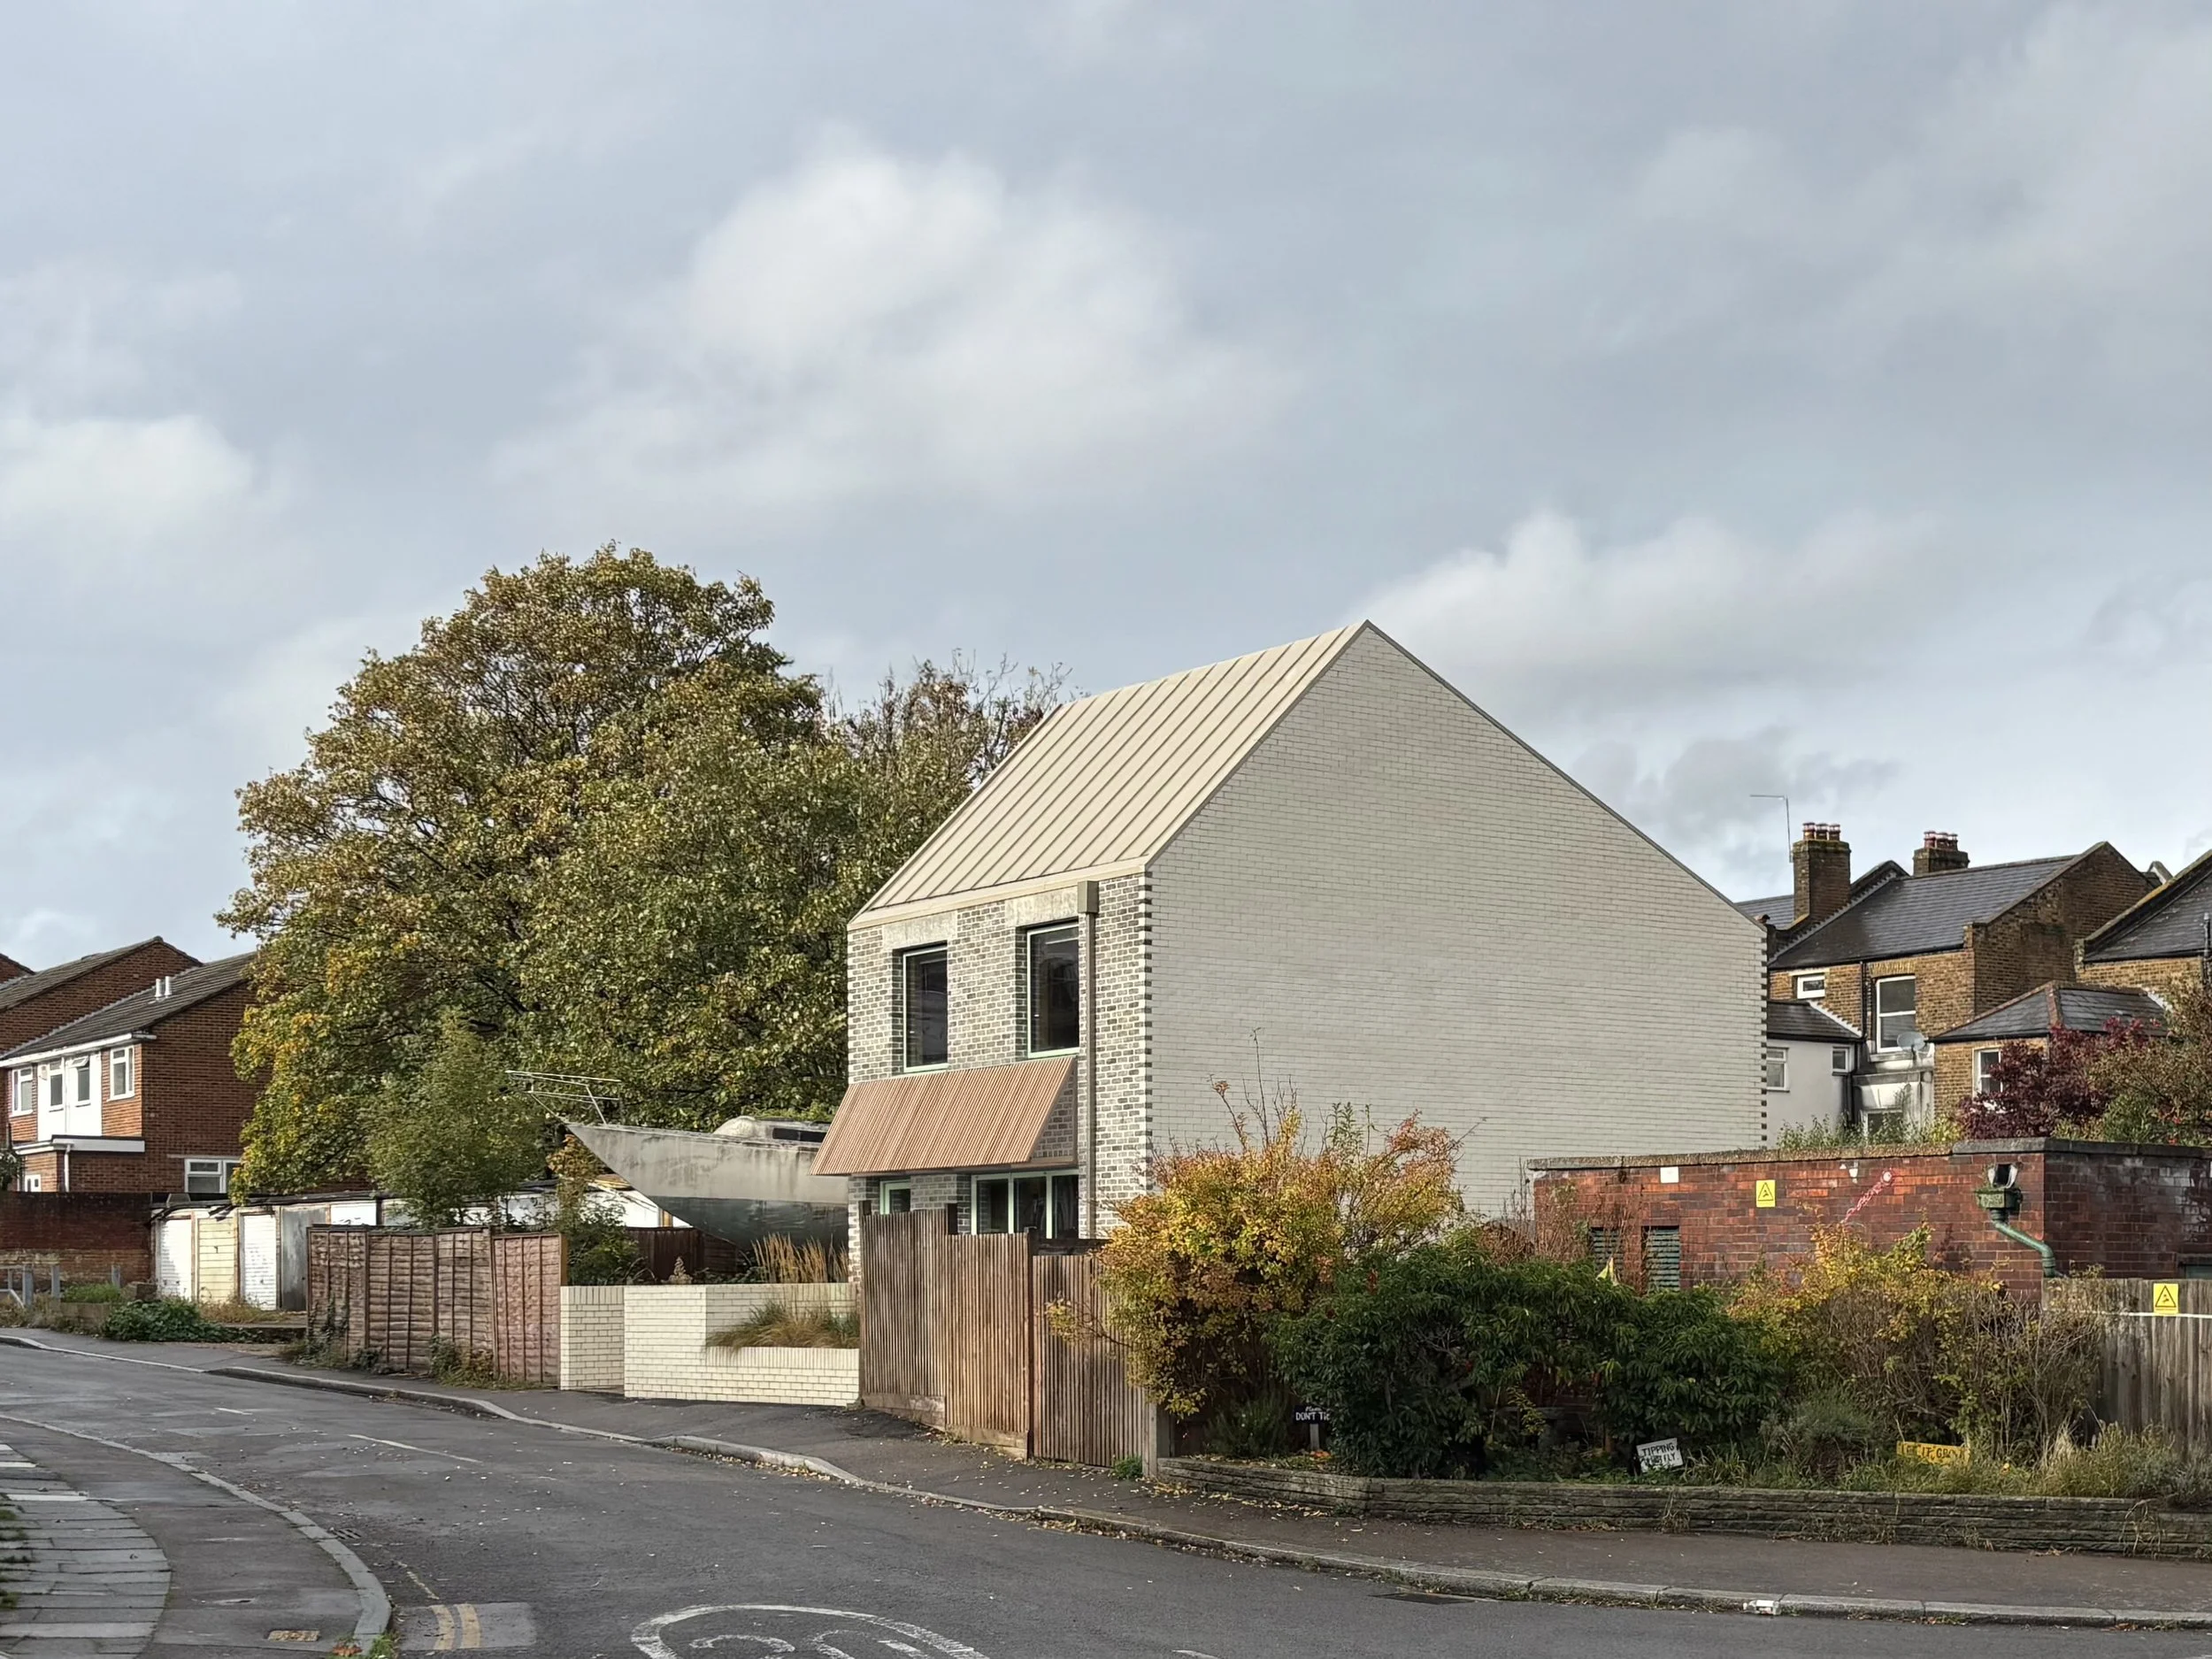
Our house, by design, is not complex in shape or flamboyant in plan. It’s a simple house that looks like a house. That had several advantages. It made the planning response clearer, the structure easier to build, and the fabric easier to insulate and make airtight. It also meant the house performs better in use. Most importantly, it allowed more of the budget to be spent on finishes and performance rather than complexity.
Rather than dilute the design, I took time off work and became the main contractor. That meant carrying responsibility, learning quickly, and accepting risk. It isn’t a route for everyone, but it’s worth knowing that it can make otherwise unviable projects stack up if you have the time and appetite for it.

Cash flow and commitment
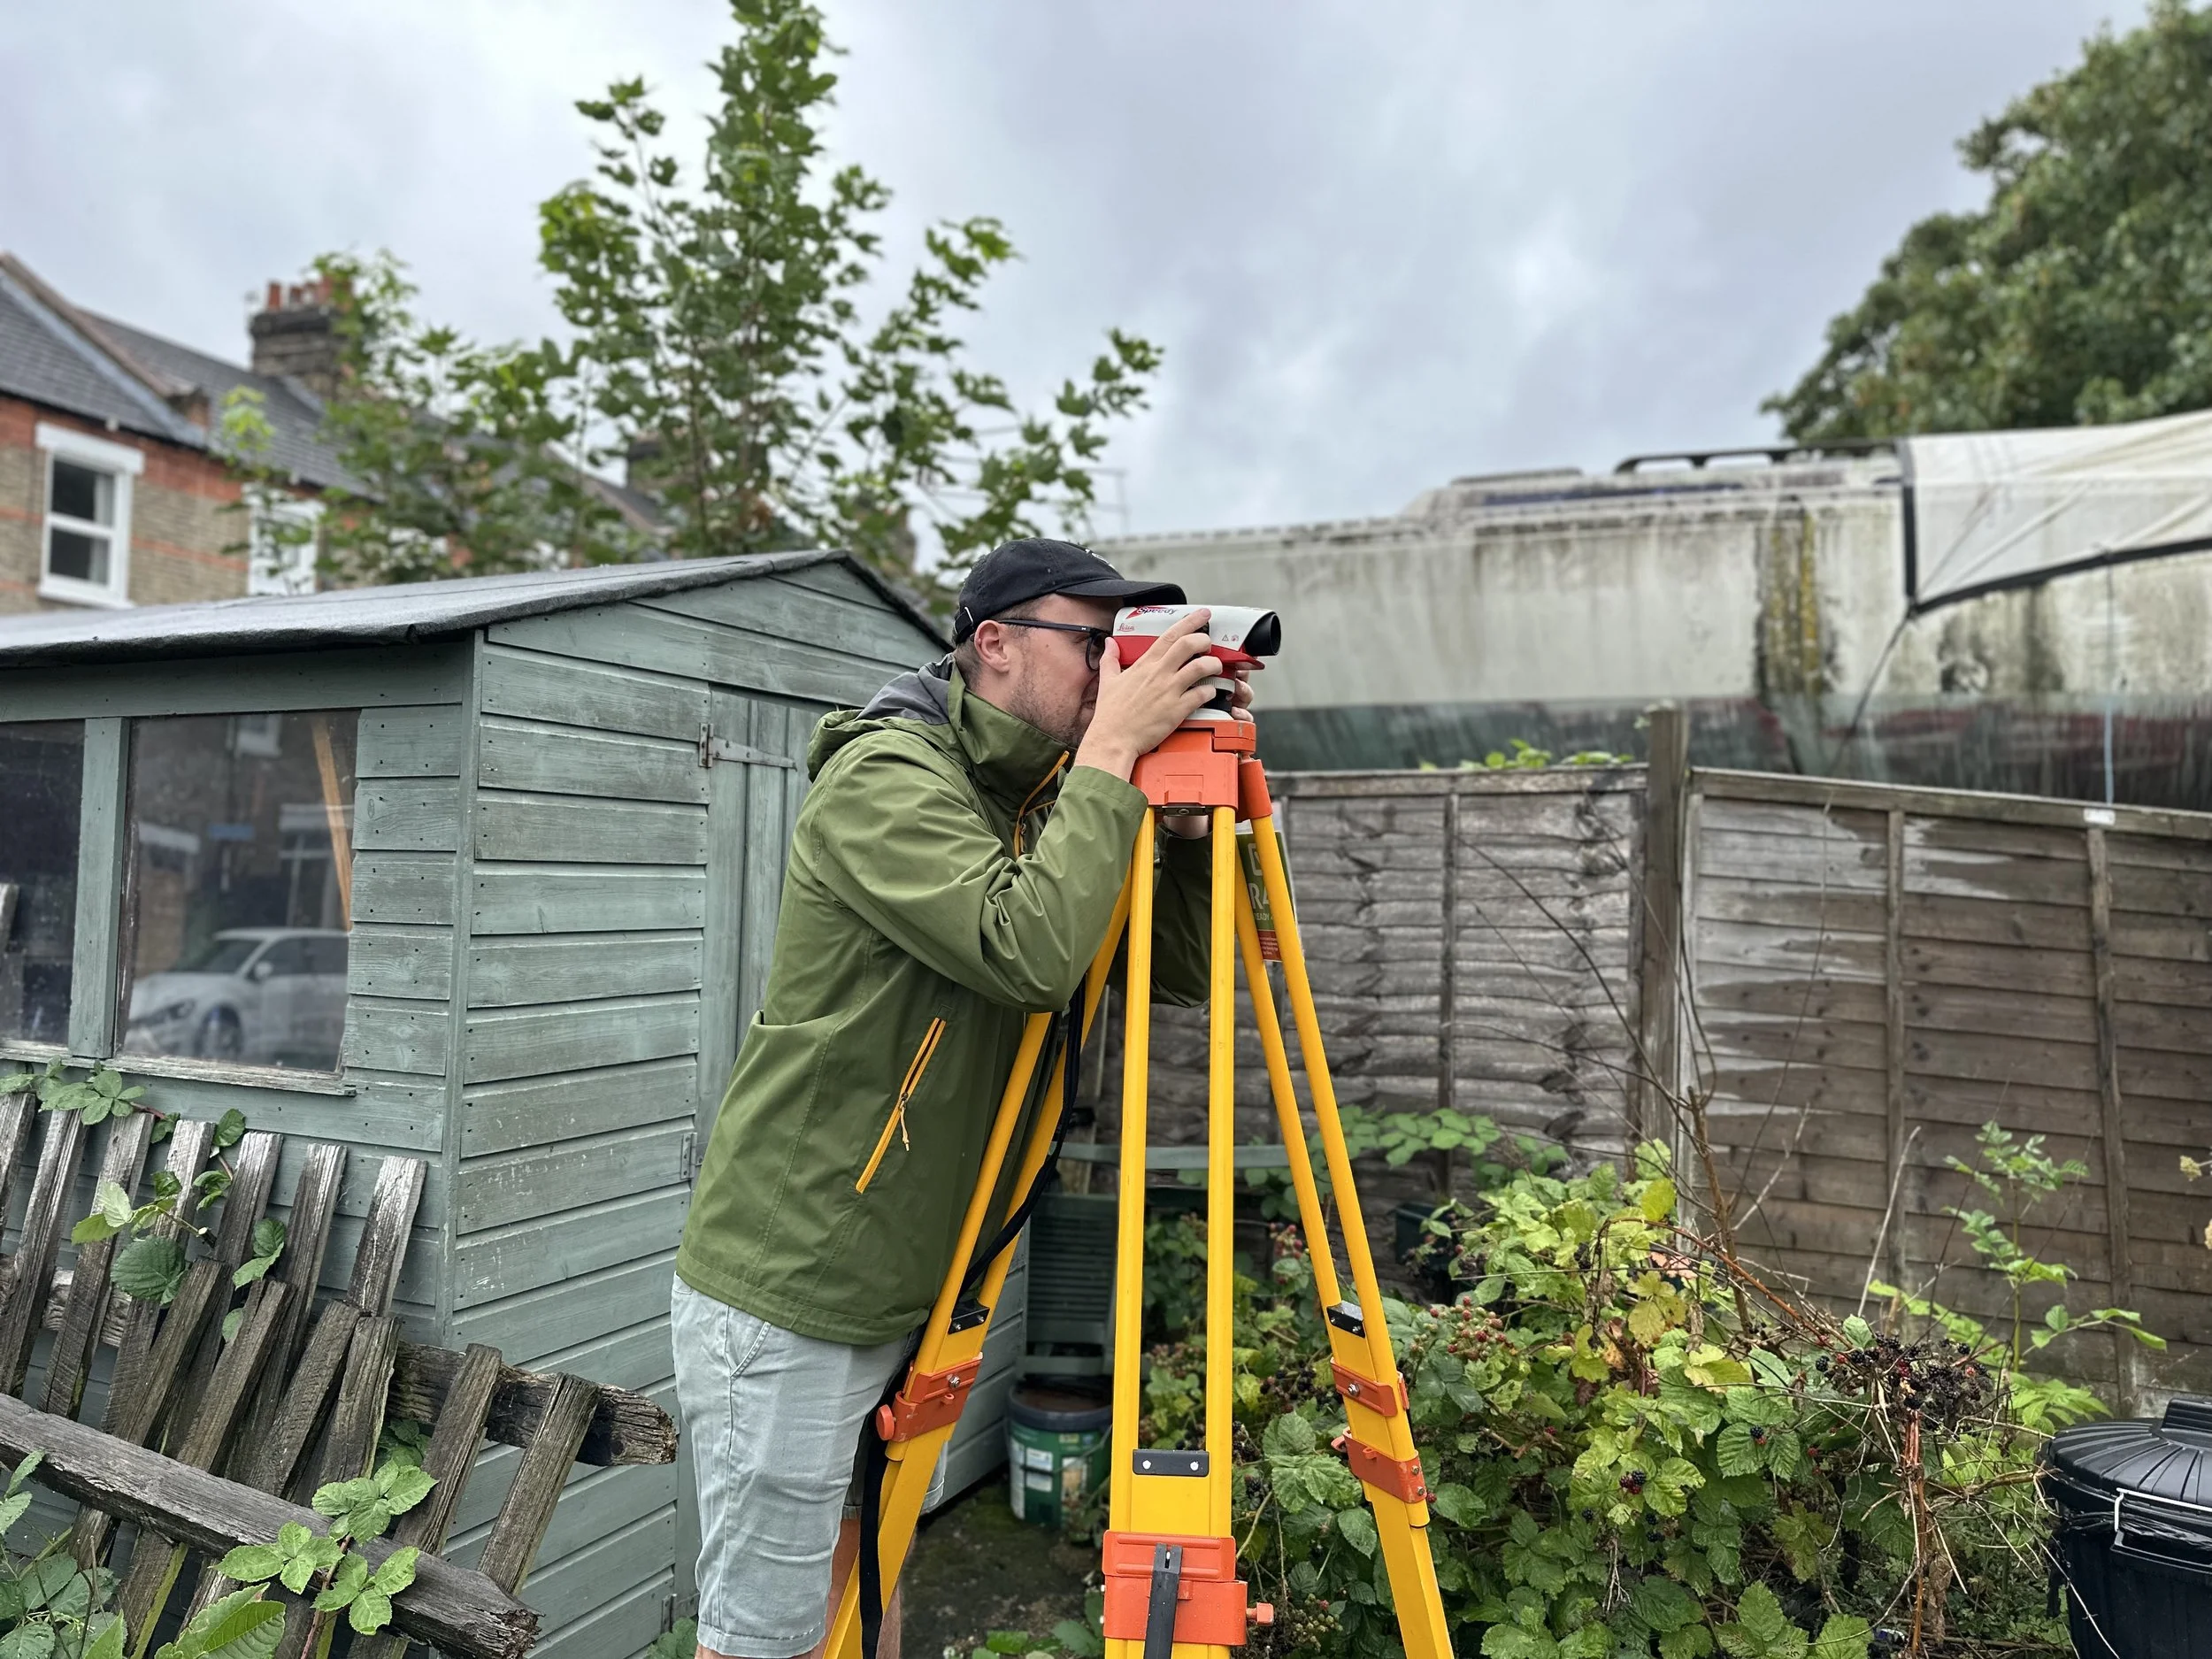
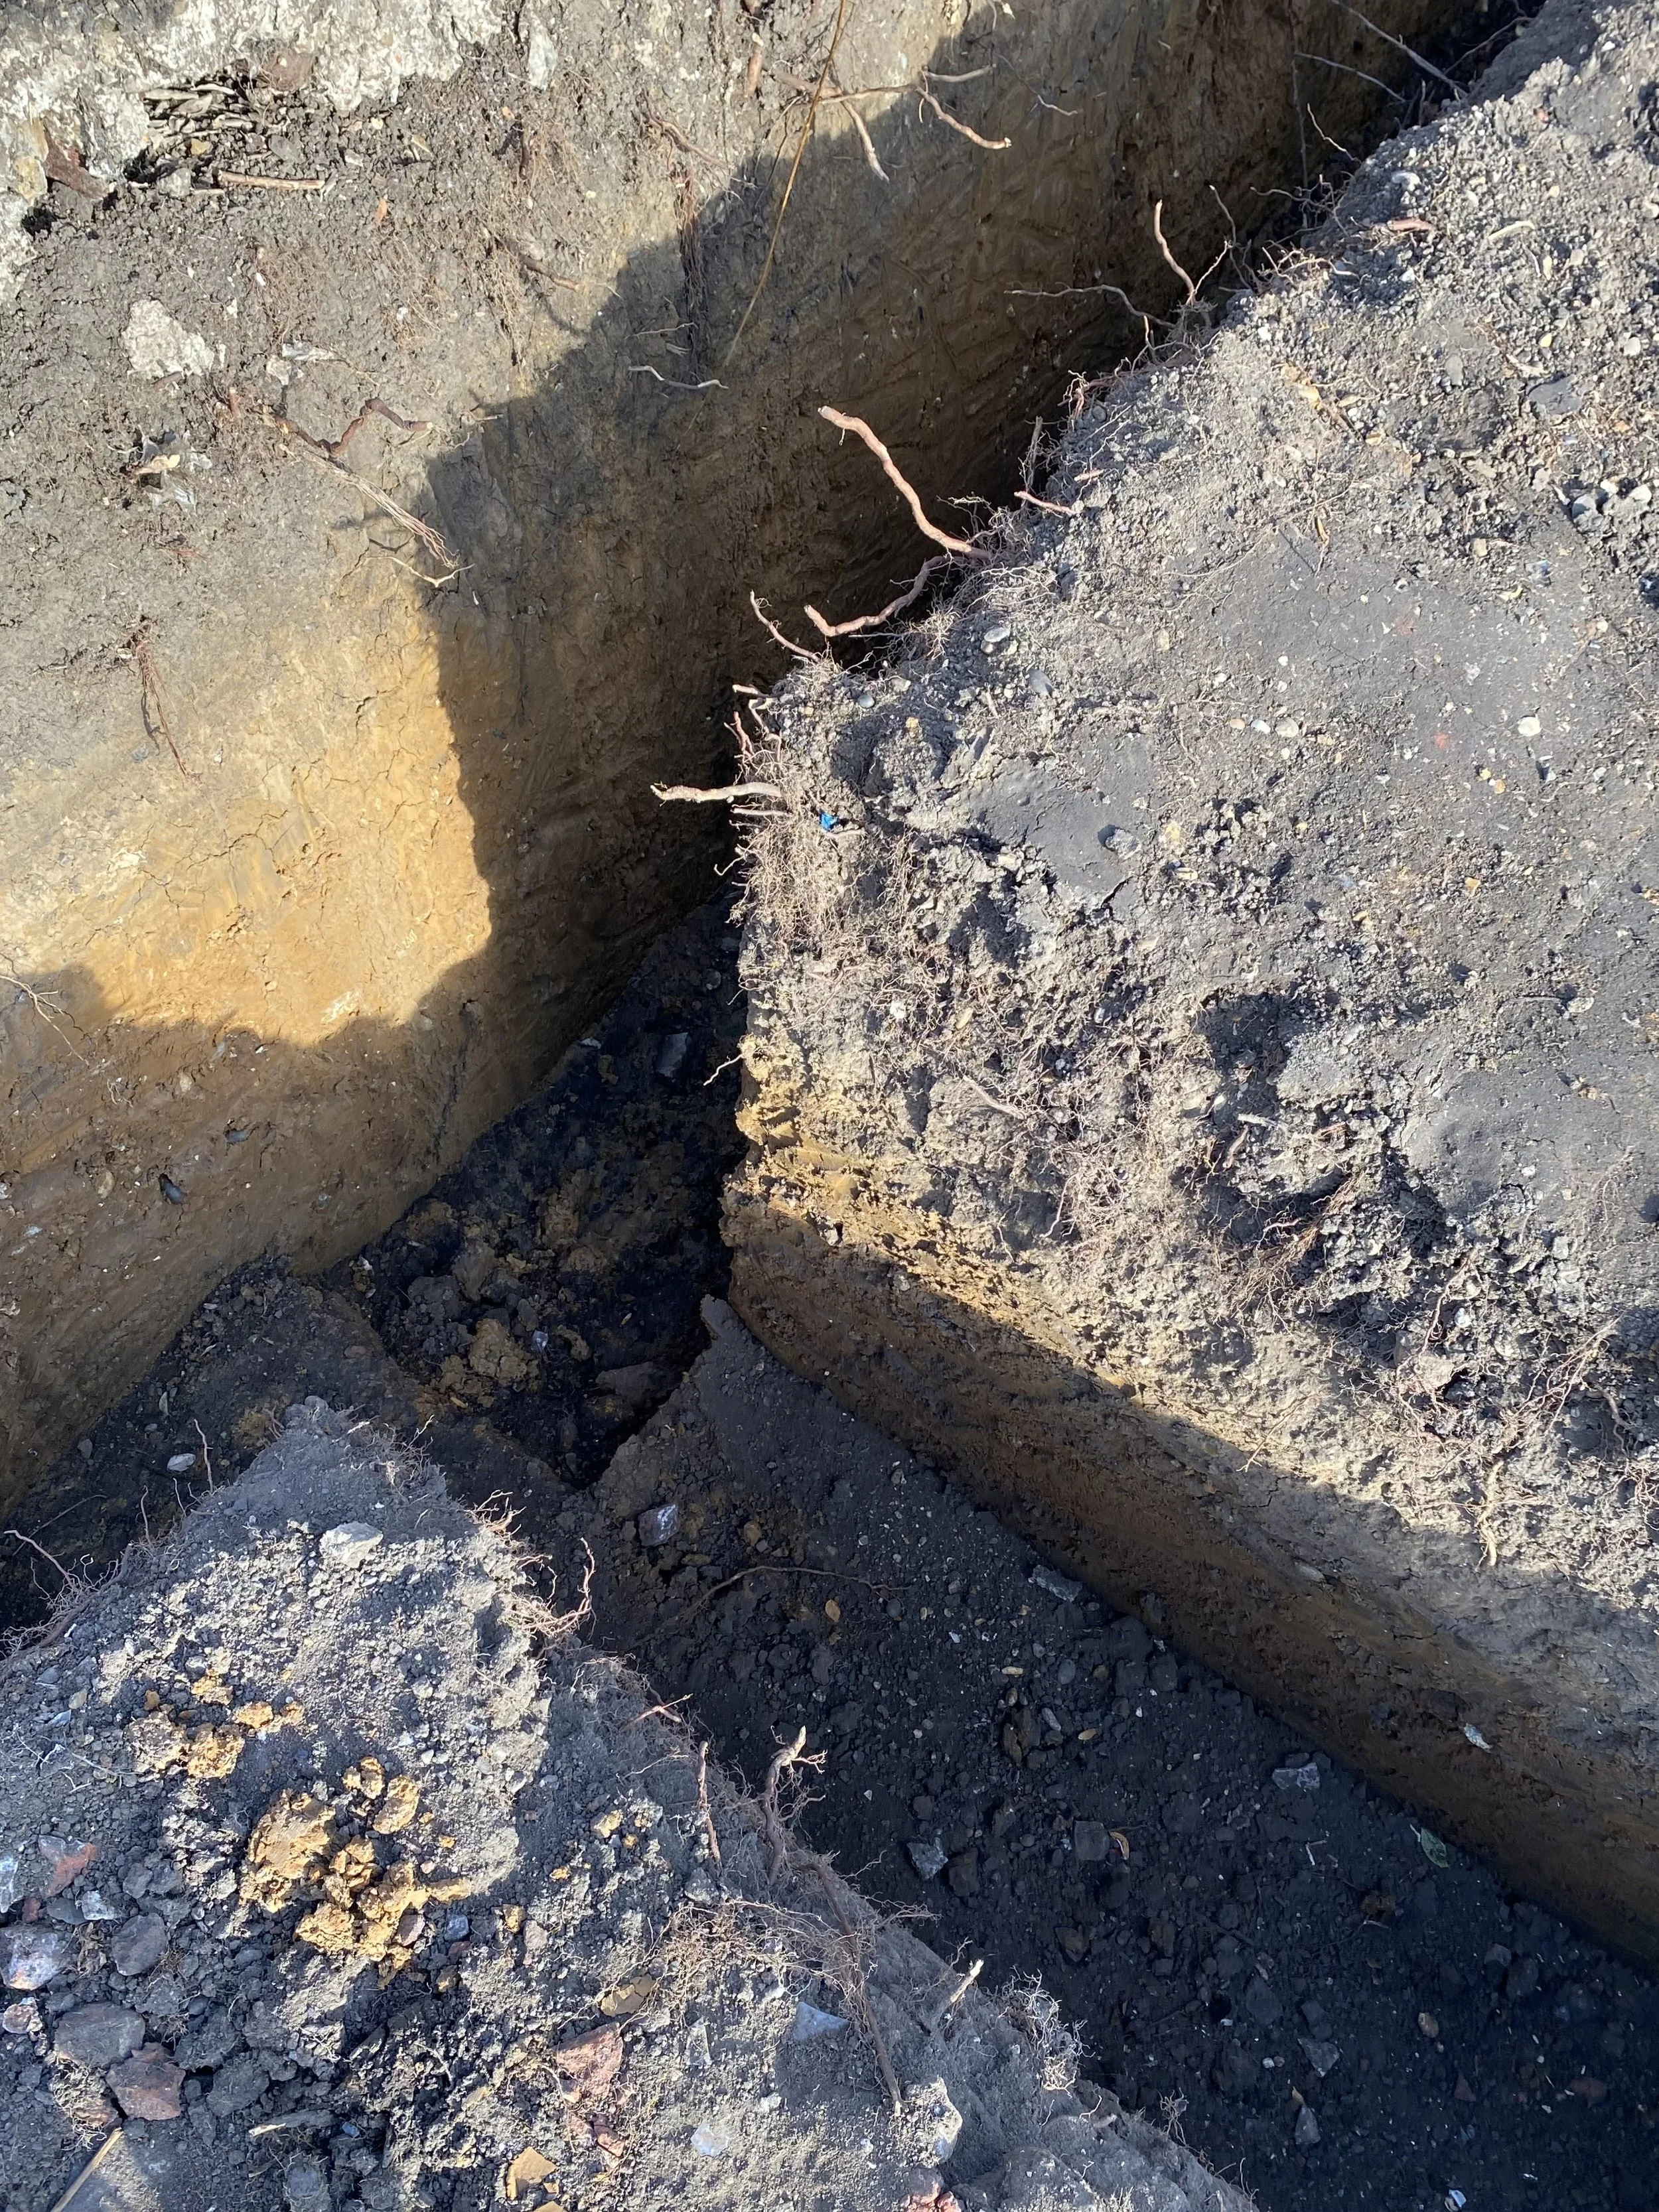
The period between gaining consent and starting on site was challenging. We didn’t use the full eighteen months of the option agreement to secure planning, and we used some of the remaining time before formally purchasing the land to develop the detailed design and begin statutory processes such as utility connections and boreholes to inform the structural design. We also started lining up trades.
We spent around £50,000 of our own money before we formally owned the site. It was stressful. Once we were ready to start building, the land purchase completed much like a normal property transaction, with the added benefit of falling below the stamp duty threshold.
What we built ourselves, and what we didn’t
We decided there was some work we could do ourselves, and some which we shouldn't. Below is a list of what we decided to outsource. Packages of contracted work included:
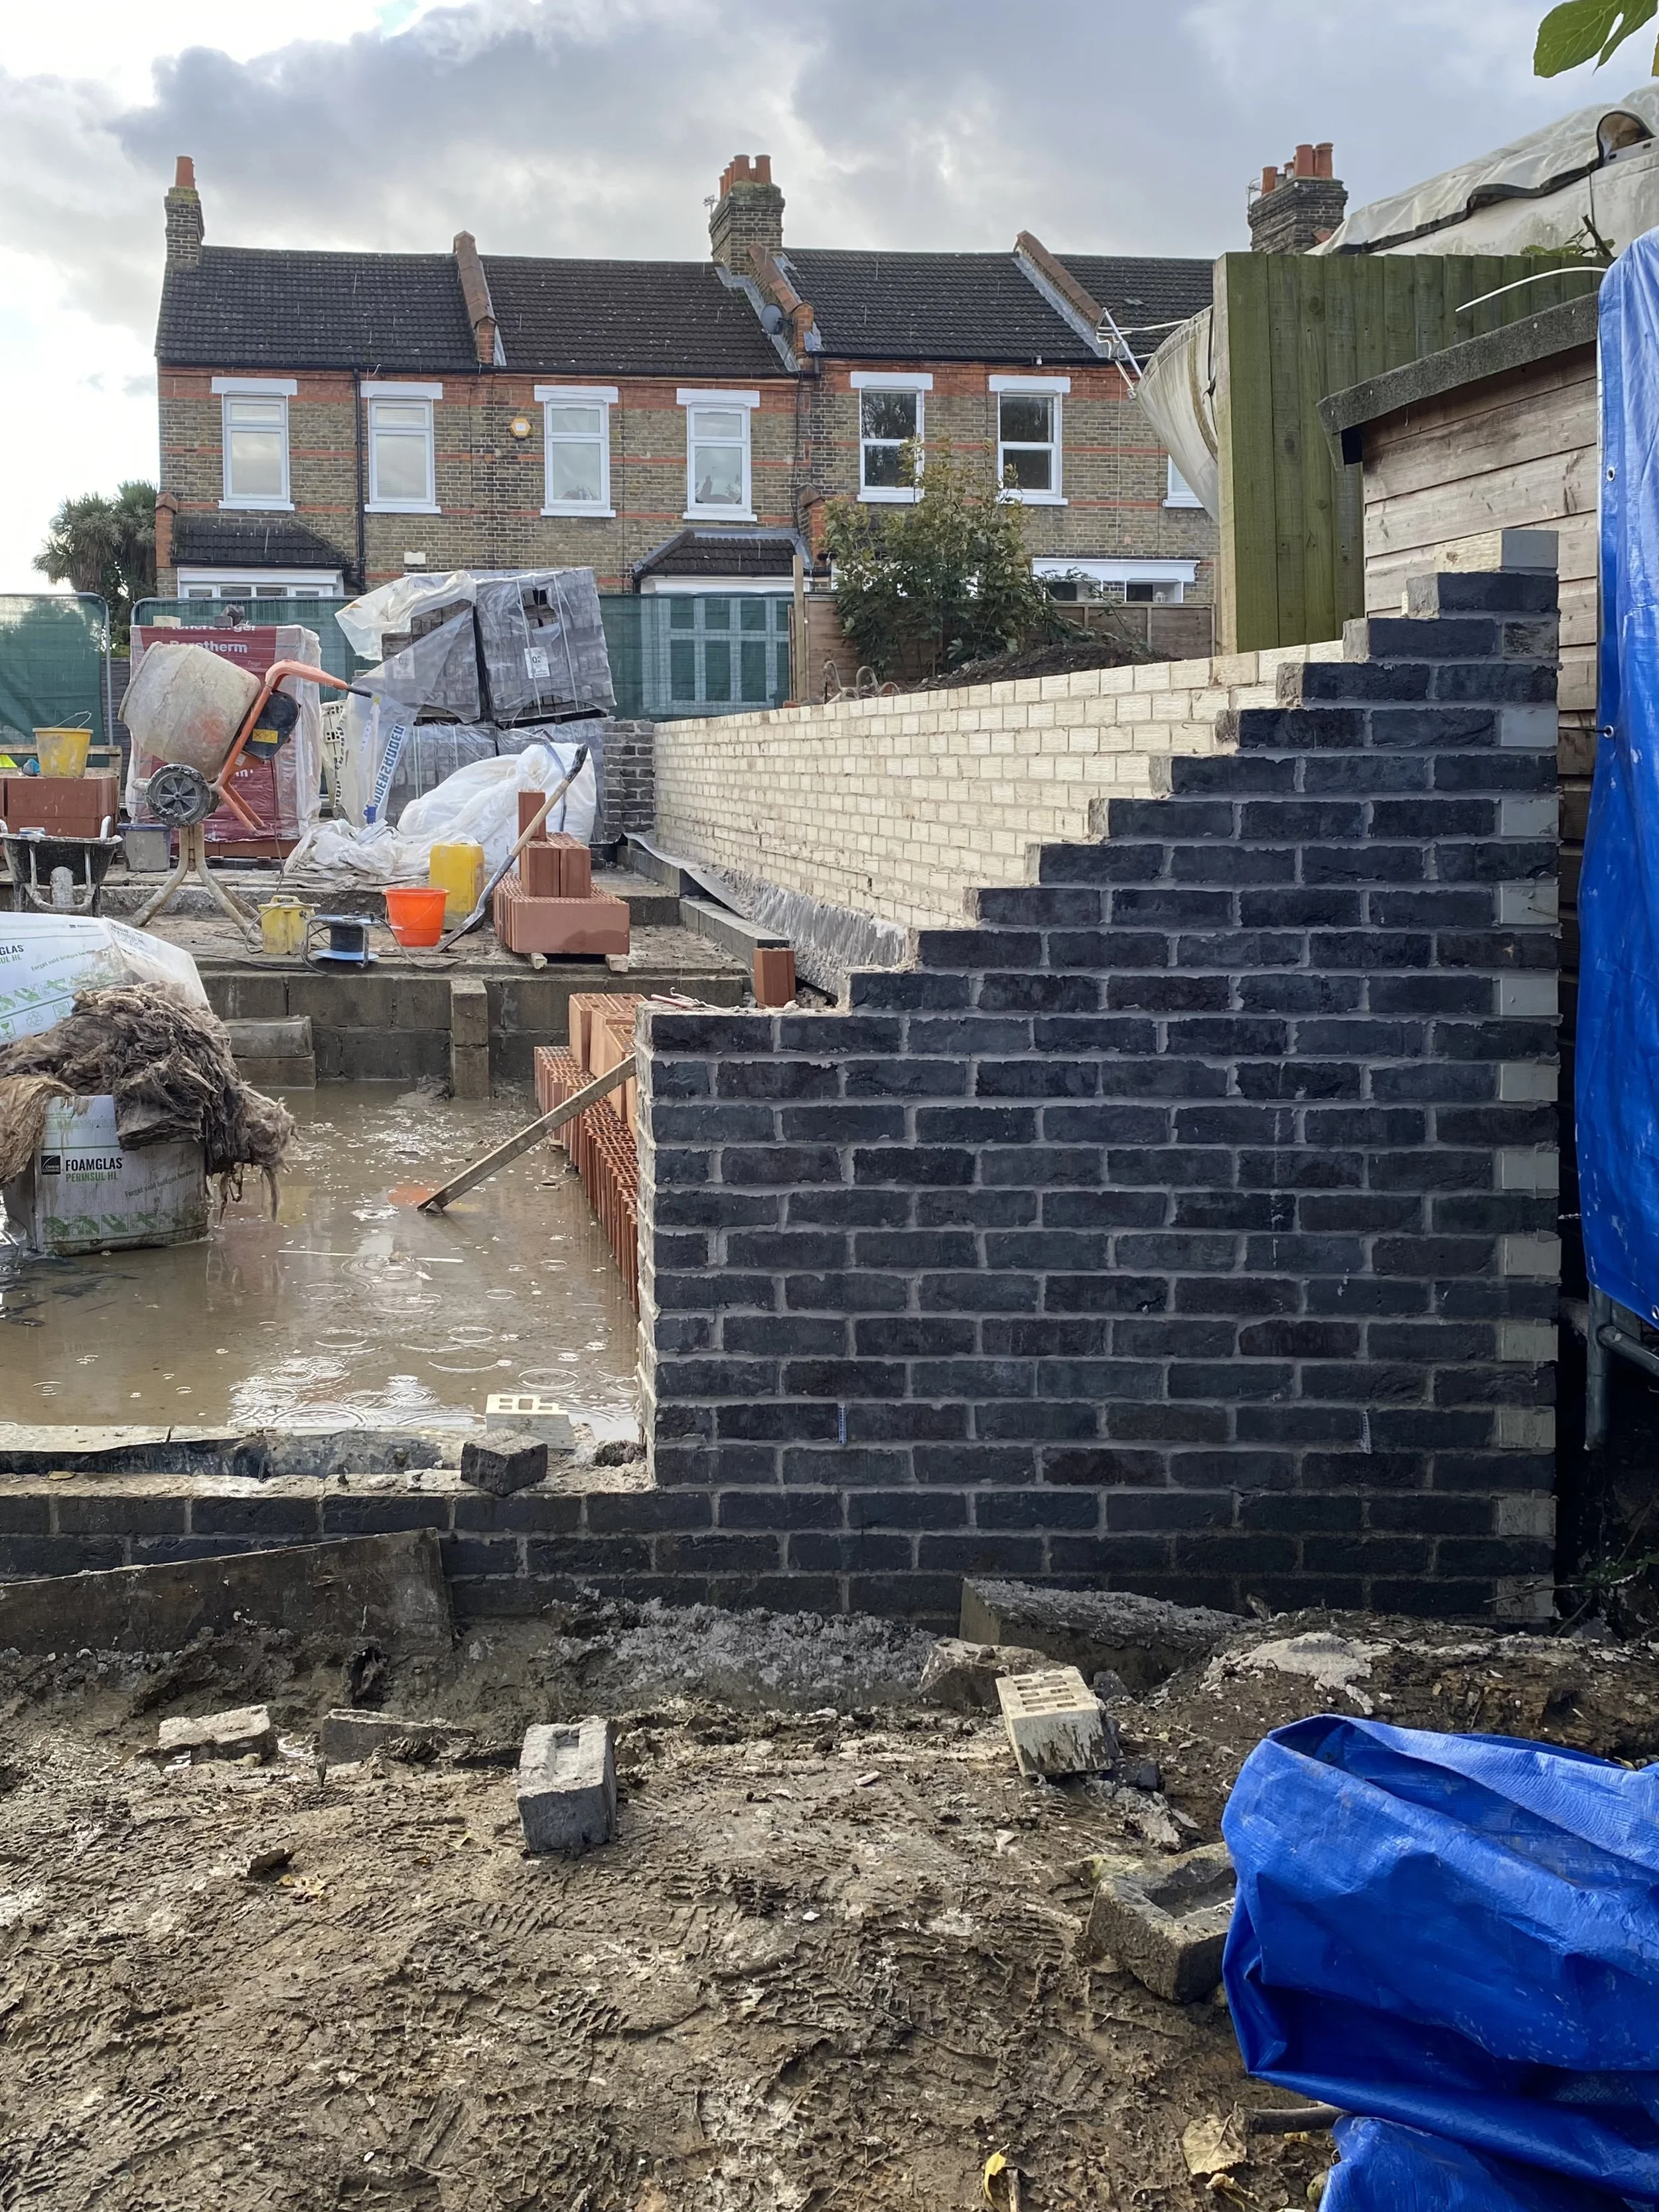
Groundworks - Lump sum
Utility connections - Lump sum
Brickwork - Lump sum
Roofer - (insulation and standing seam) - Lump sum
Carpenter - Day rate
Electrician - Lump sum
Plasterer - Day rate
Tiler - Day rate
The rest was done either by us directly, or working with subcontractors on day rates, with lots of help from family. That included:
Plumbing
Parge coating internal walls
Window and rooflight fitting
Drylining and skirtings
Ceilings and fire protection
Bathroom fitting
Staircase
Wooden flooring
Paving
Planting
Joinery, balustrades
Timber finishing
Decorating
All bespoke joinery items such as kitchen, fitted furniture, cabinets etc.
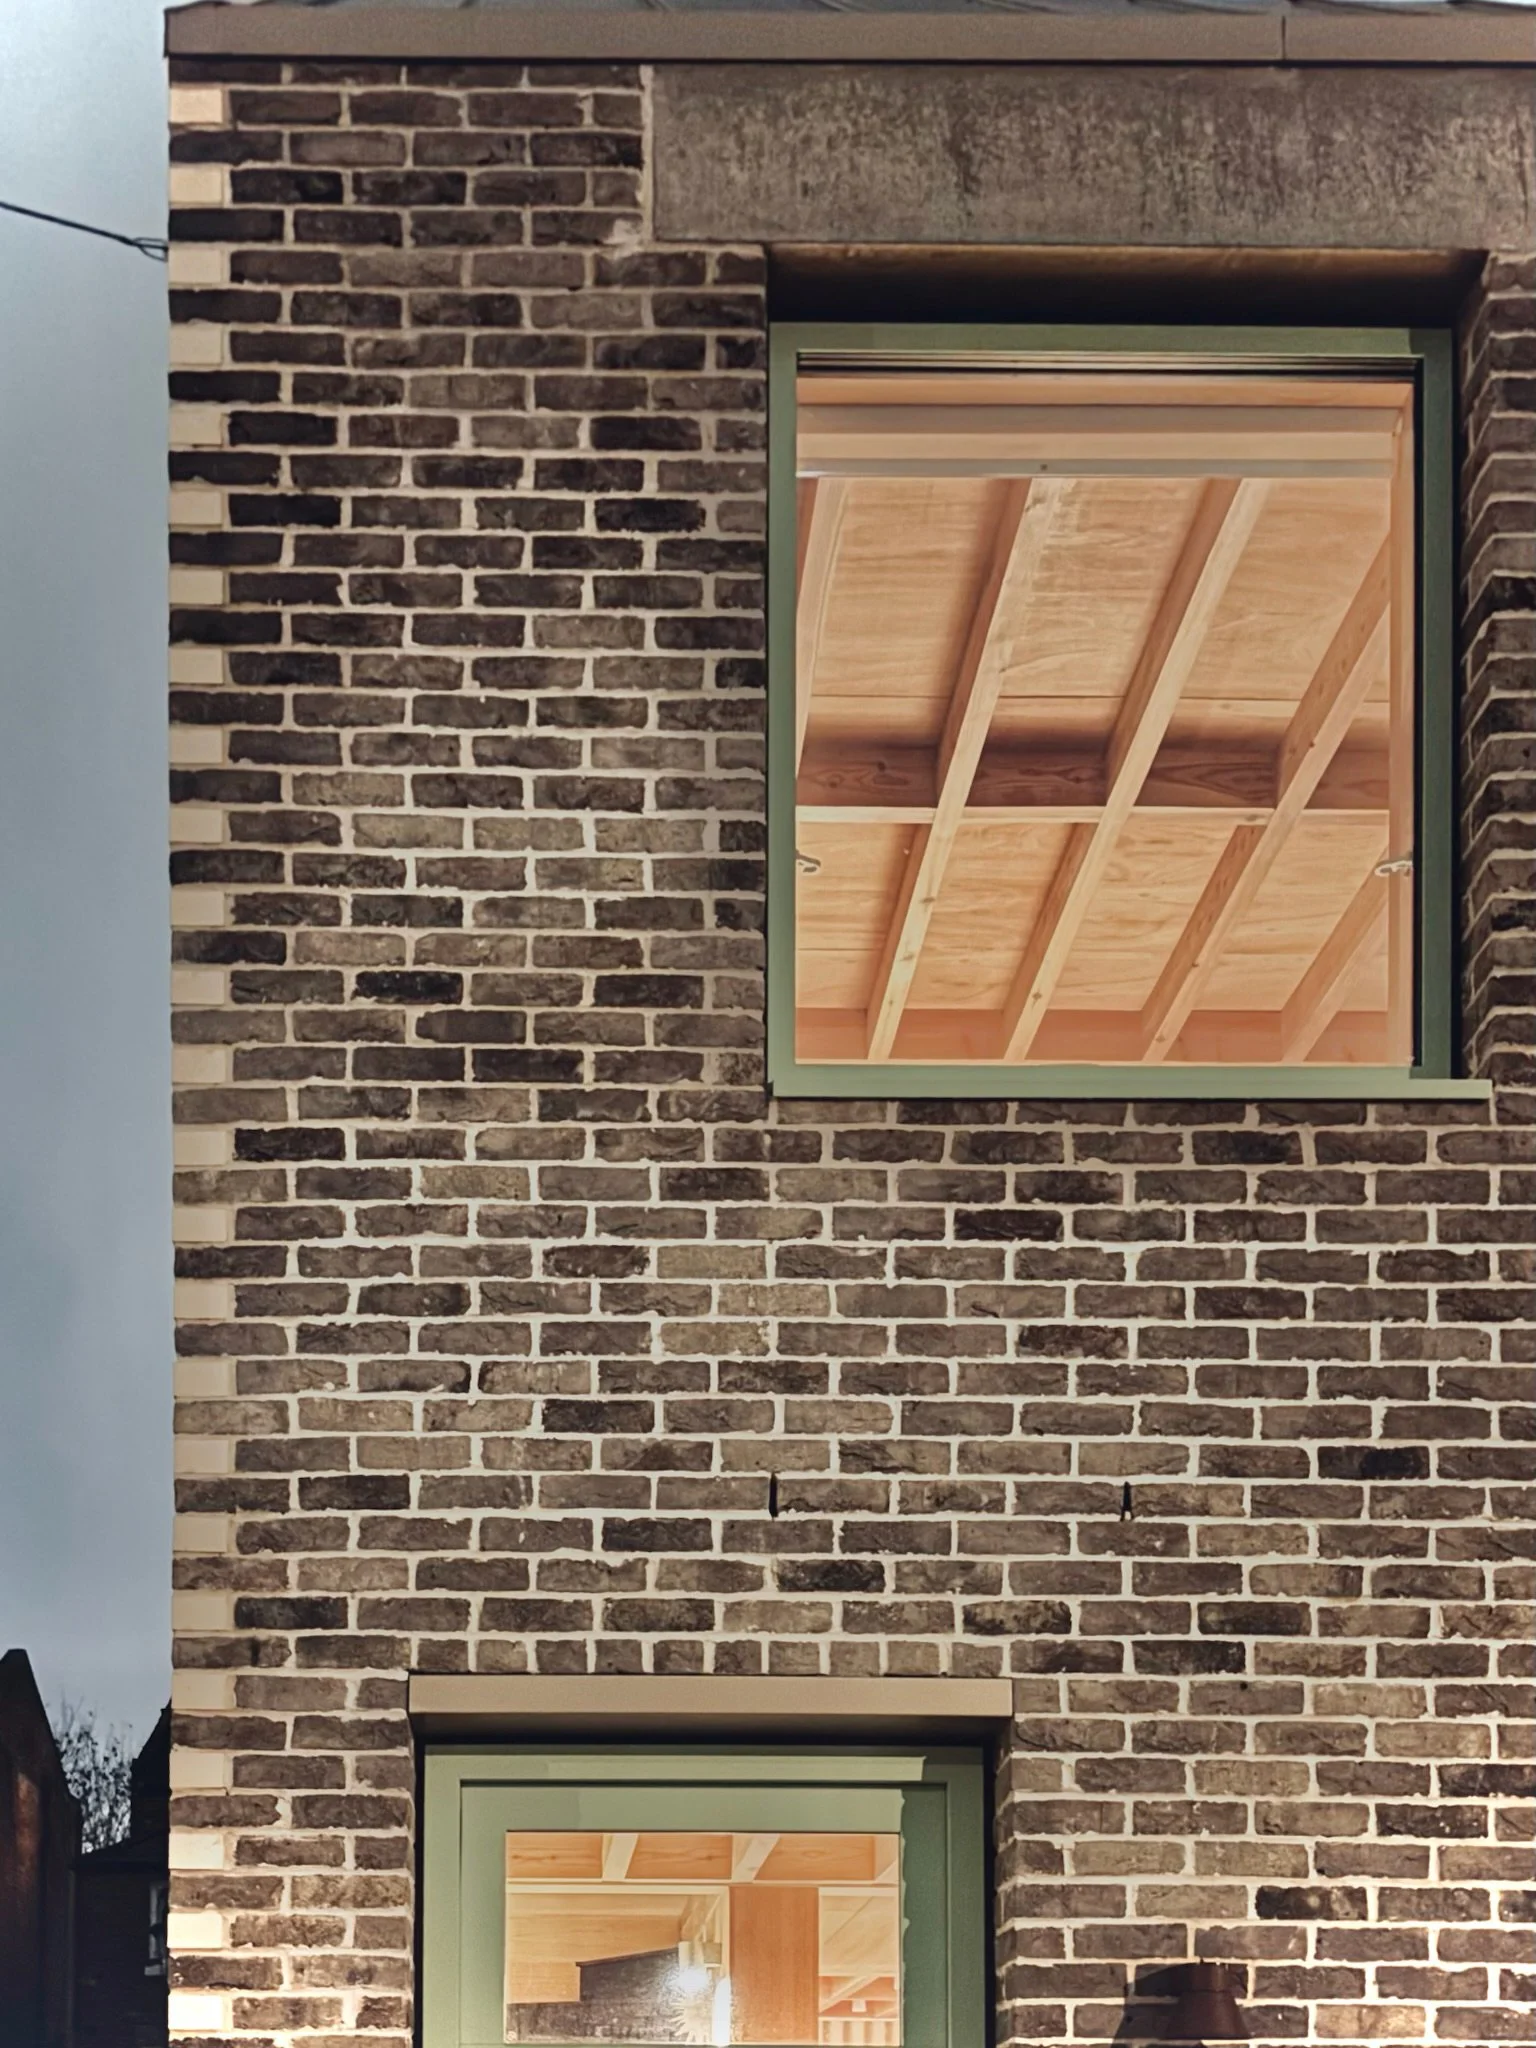
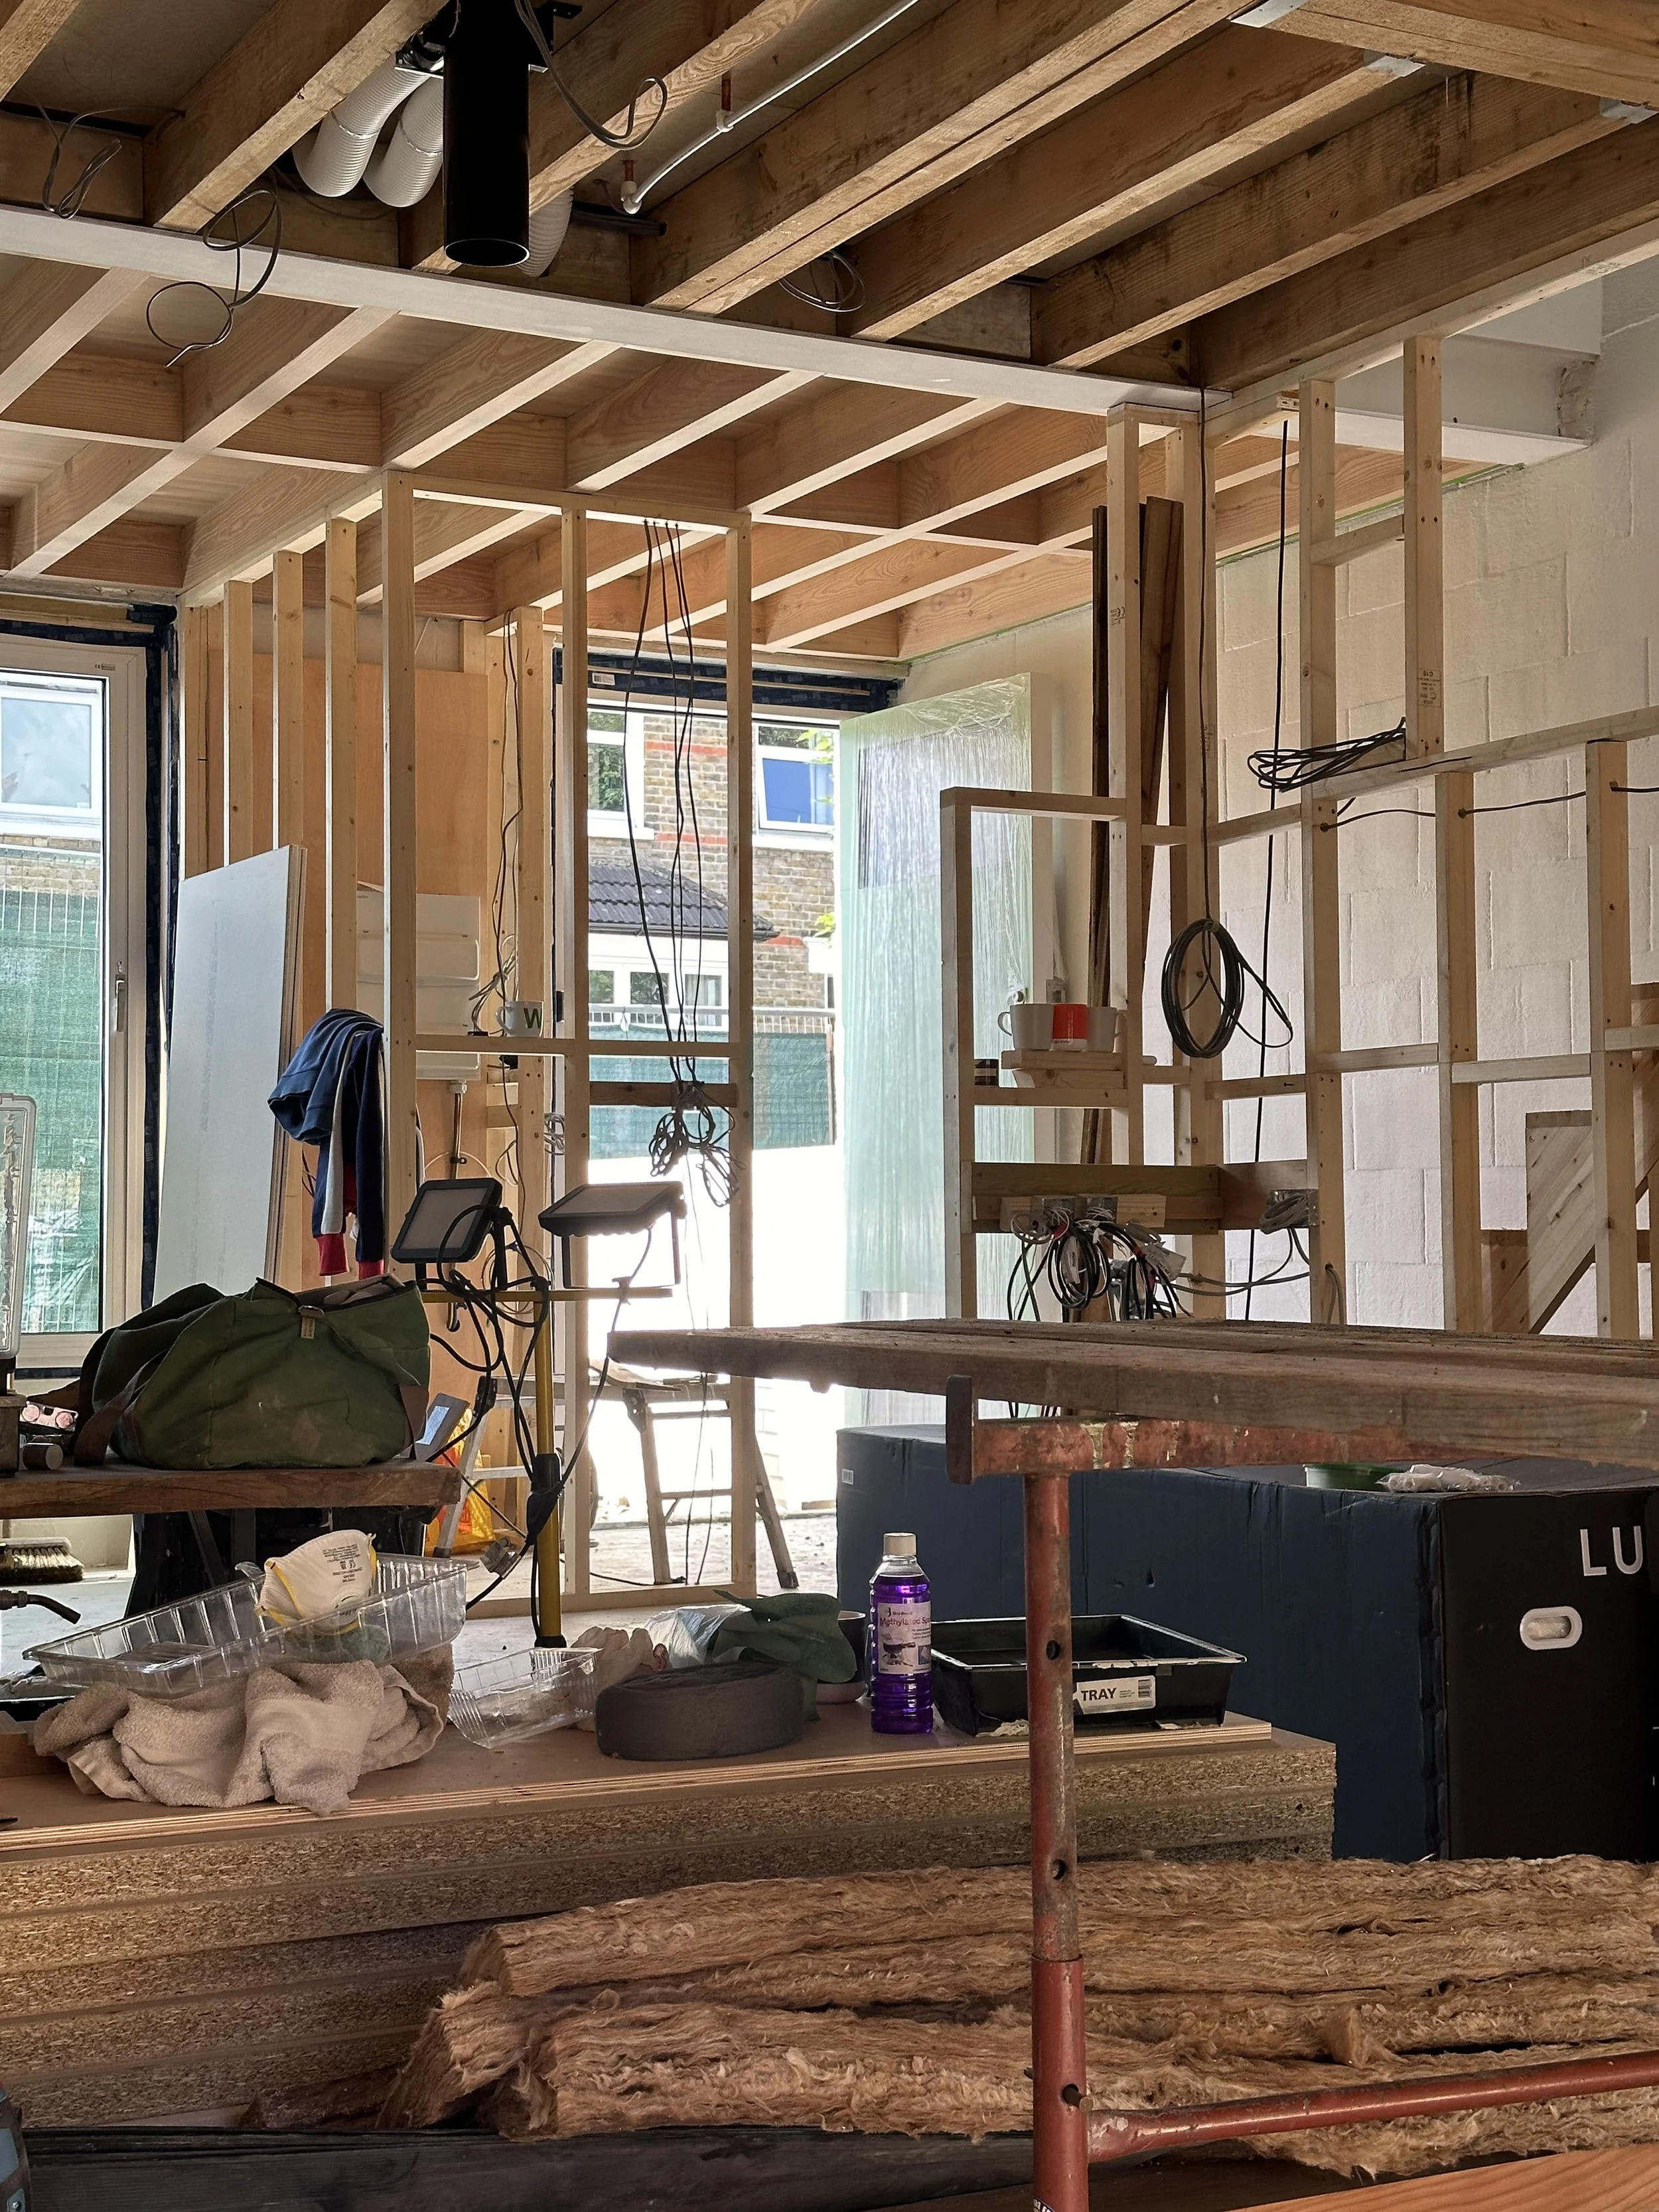
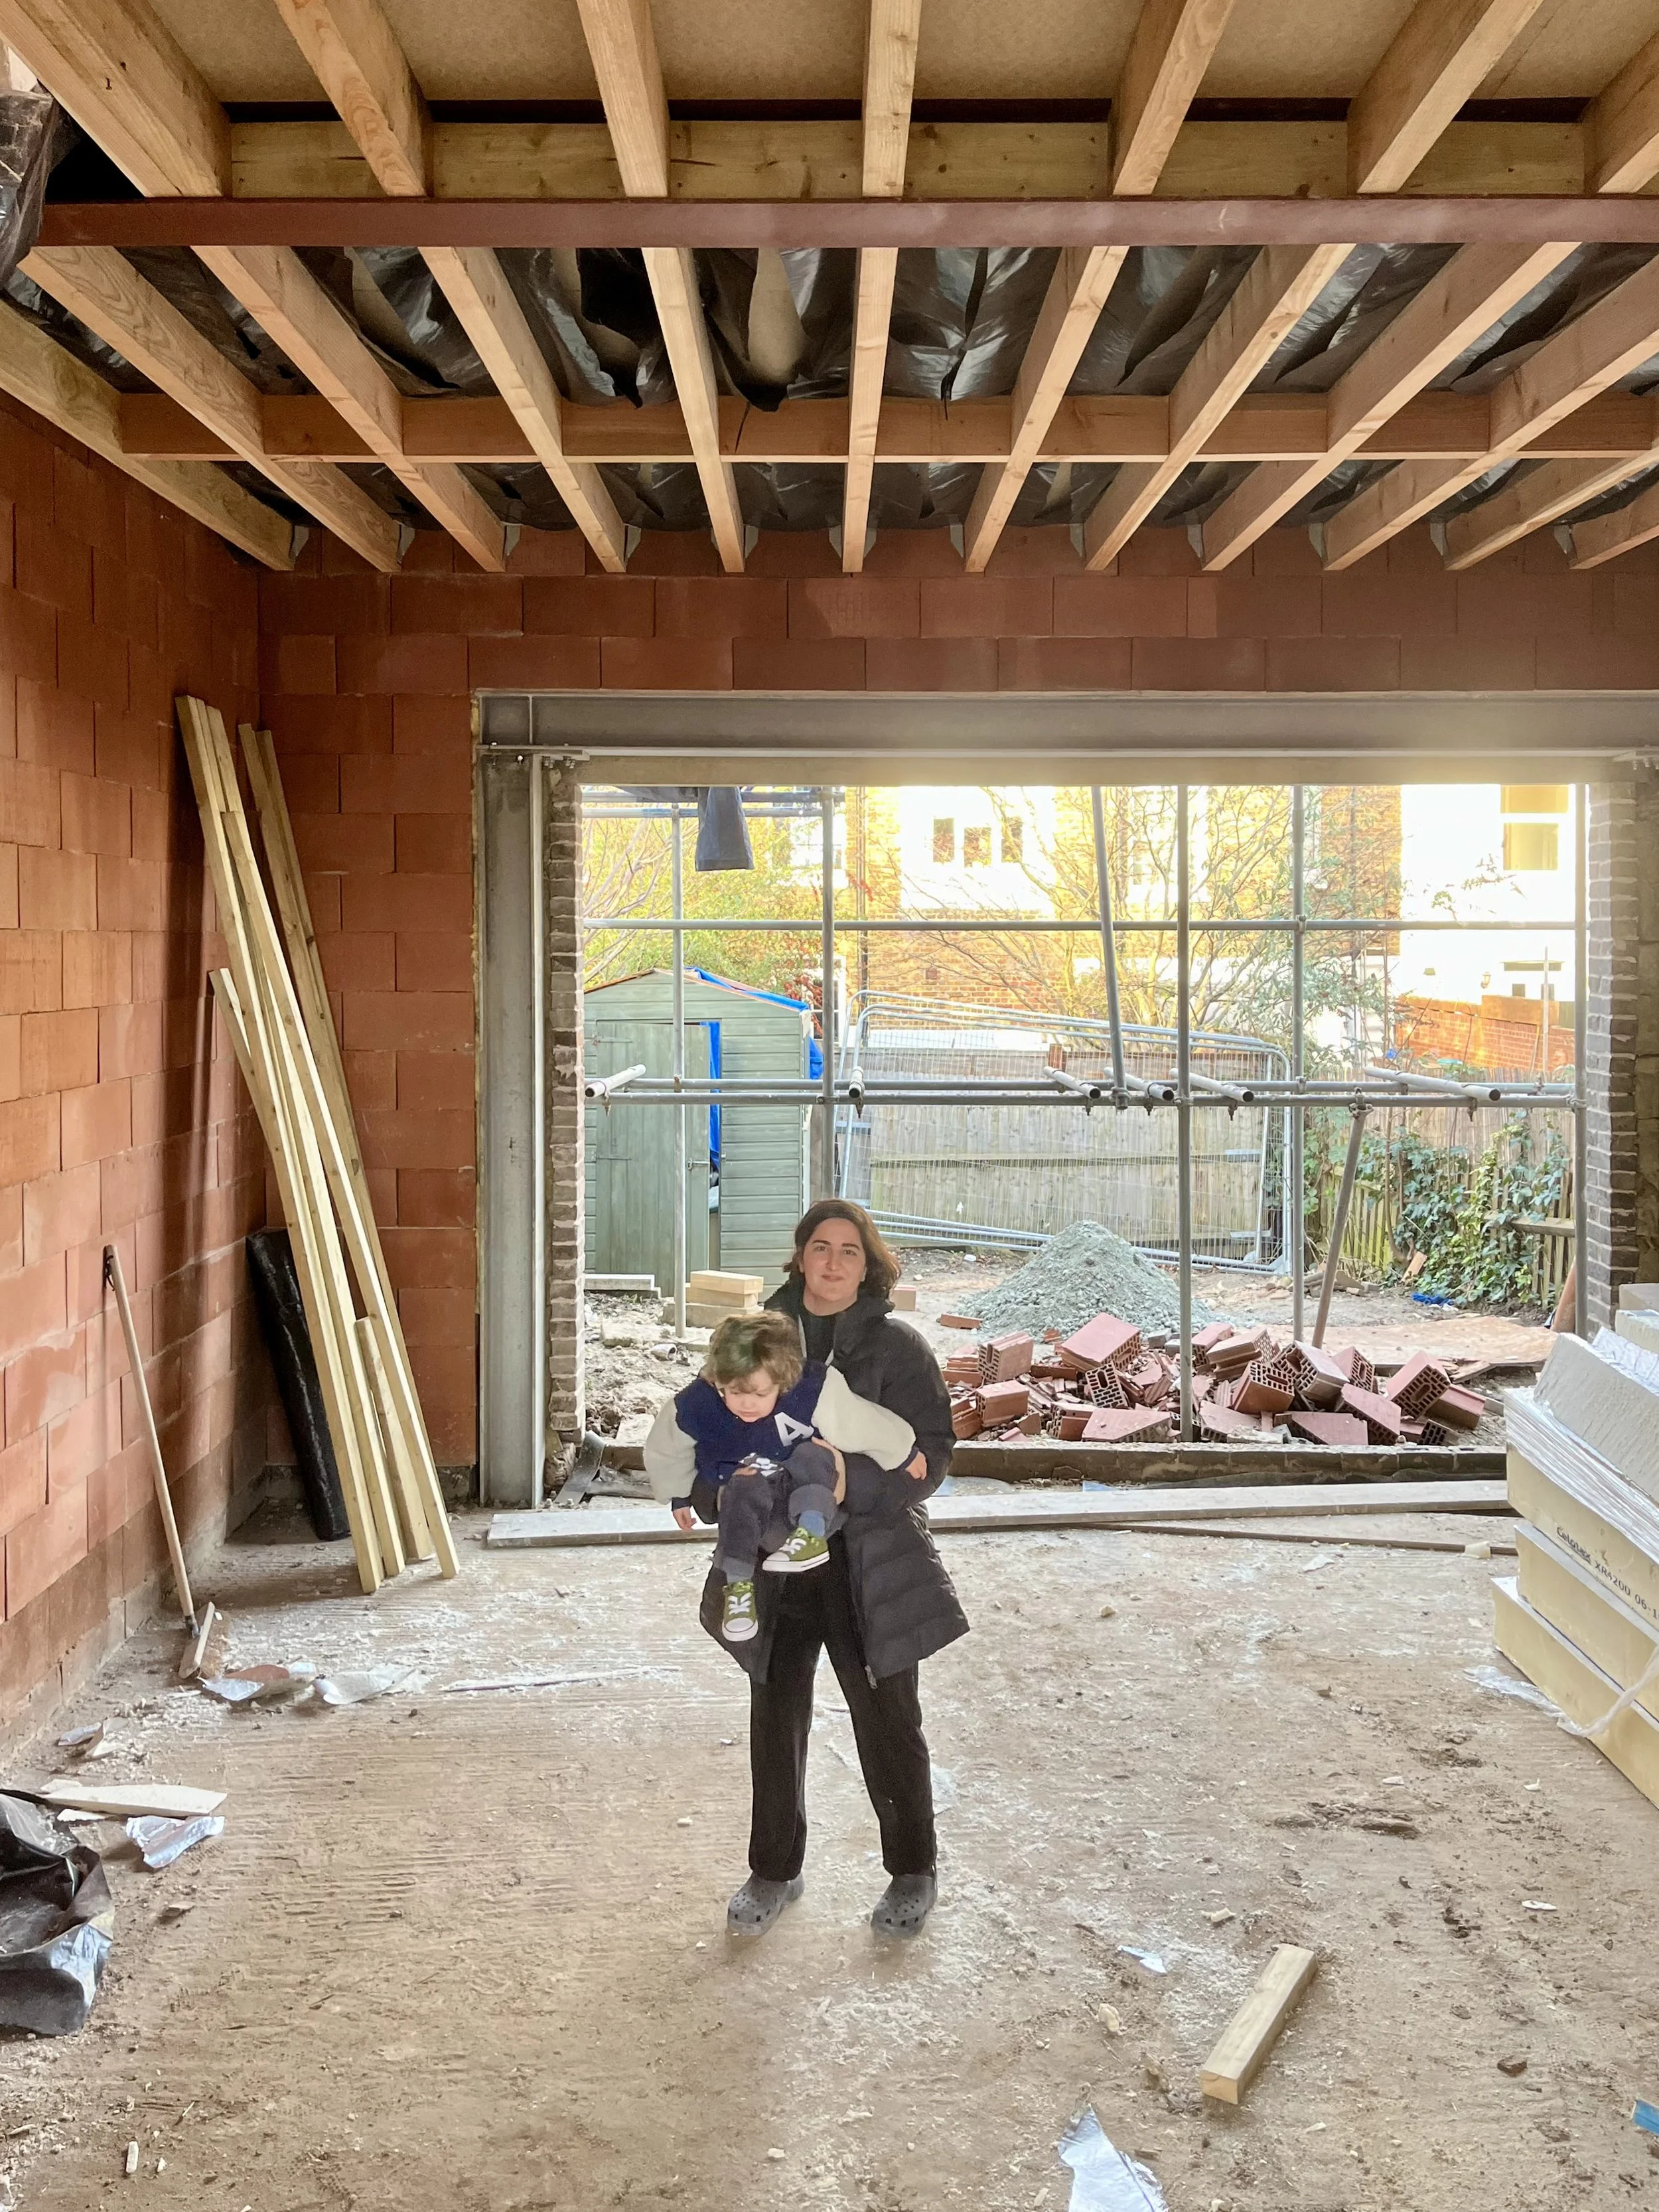
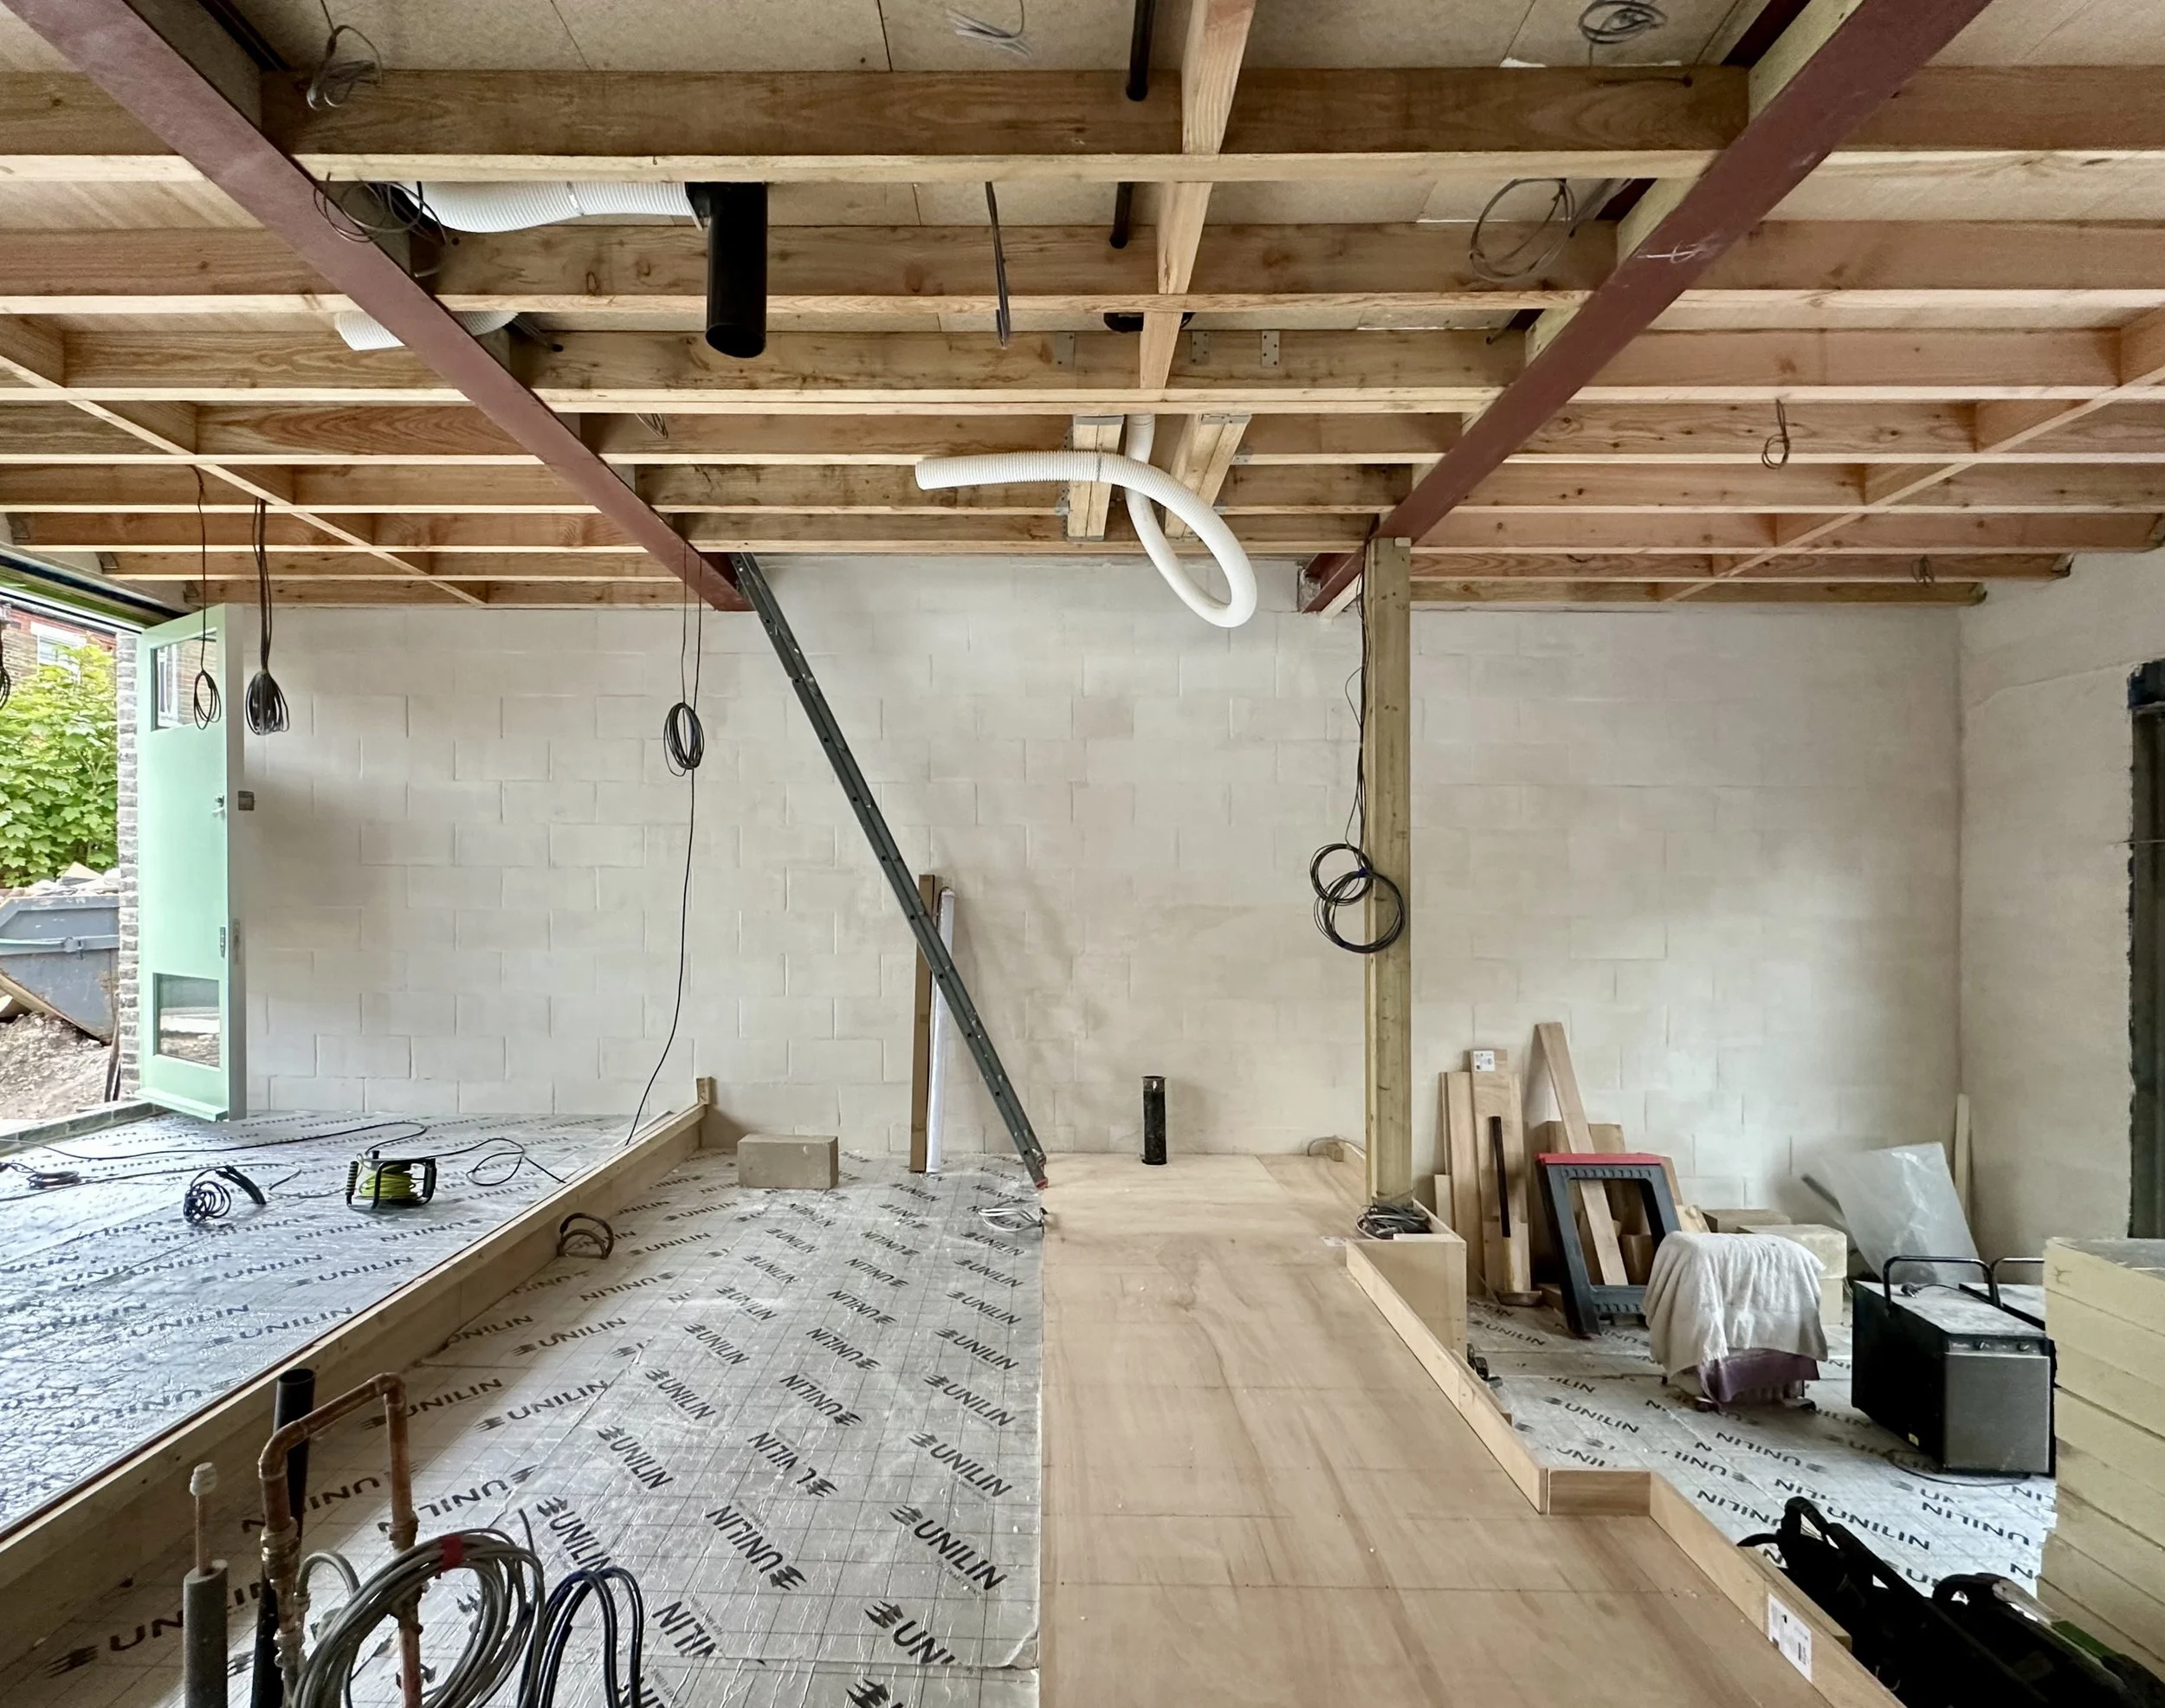
Designing for legibility and performance
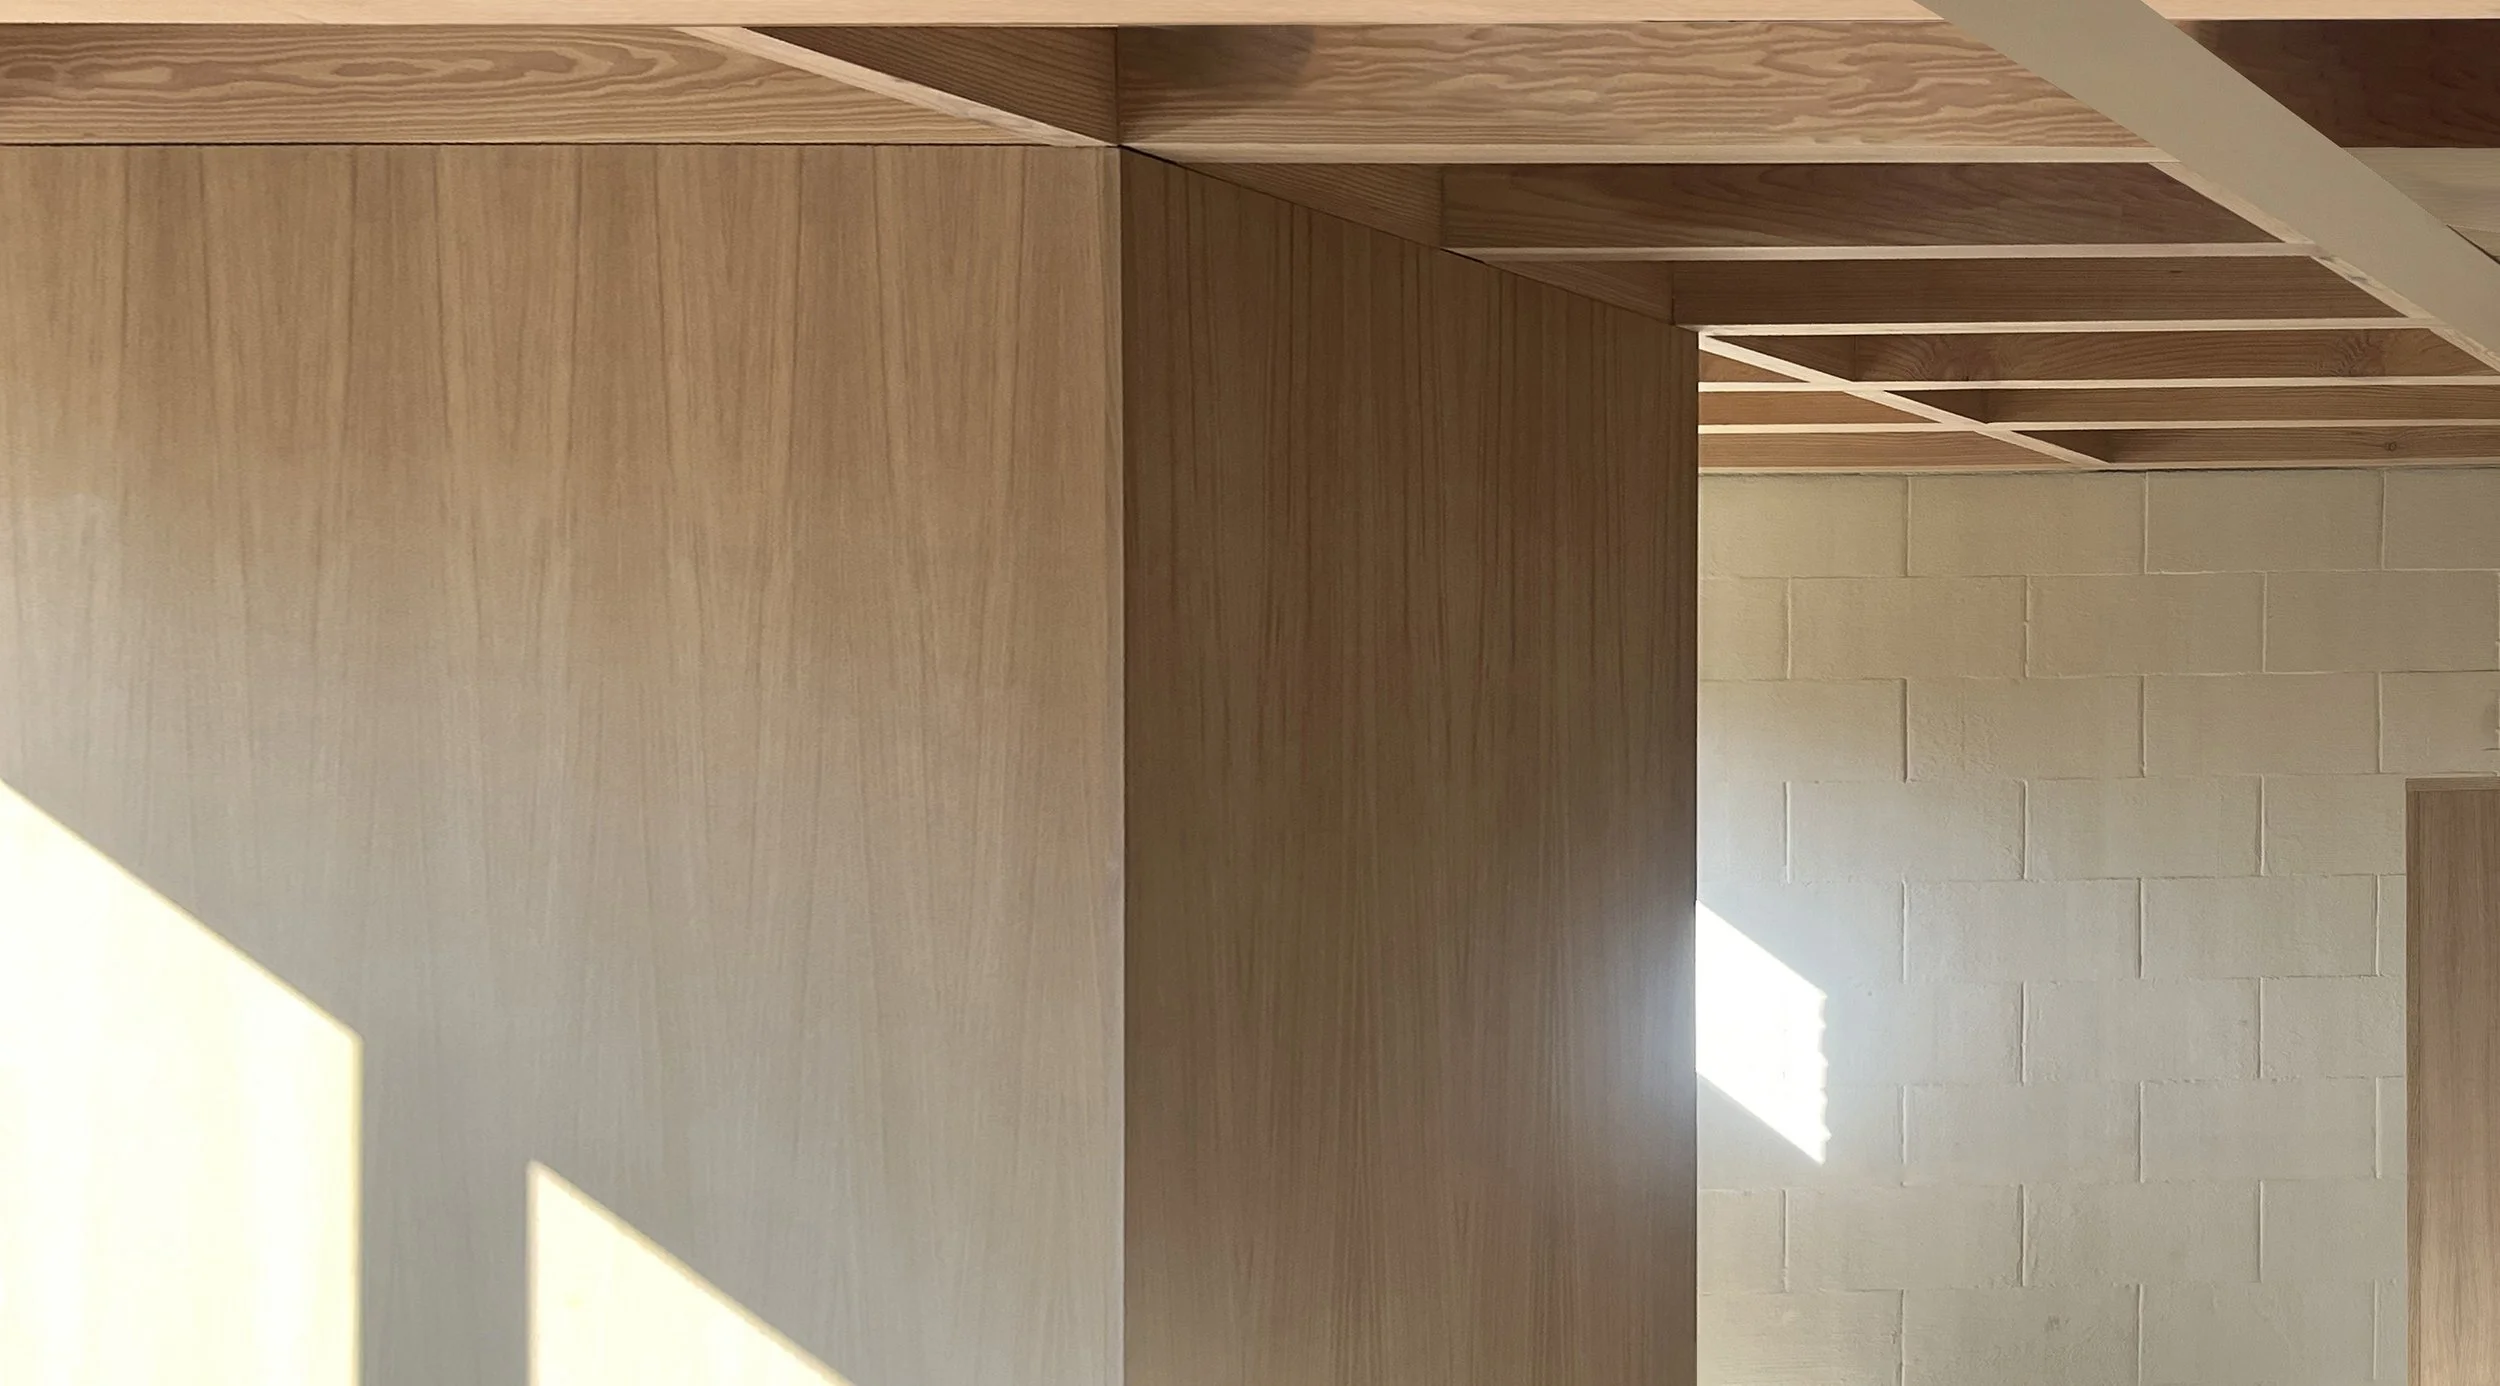
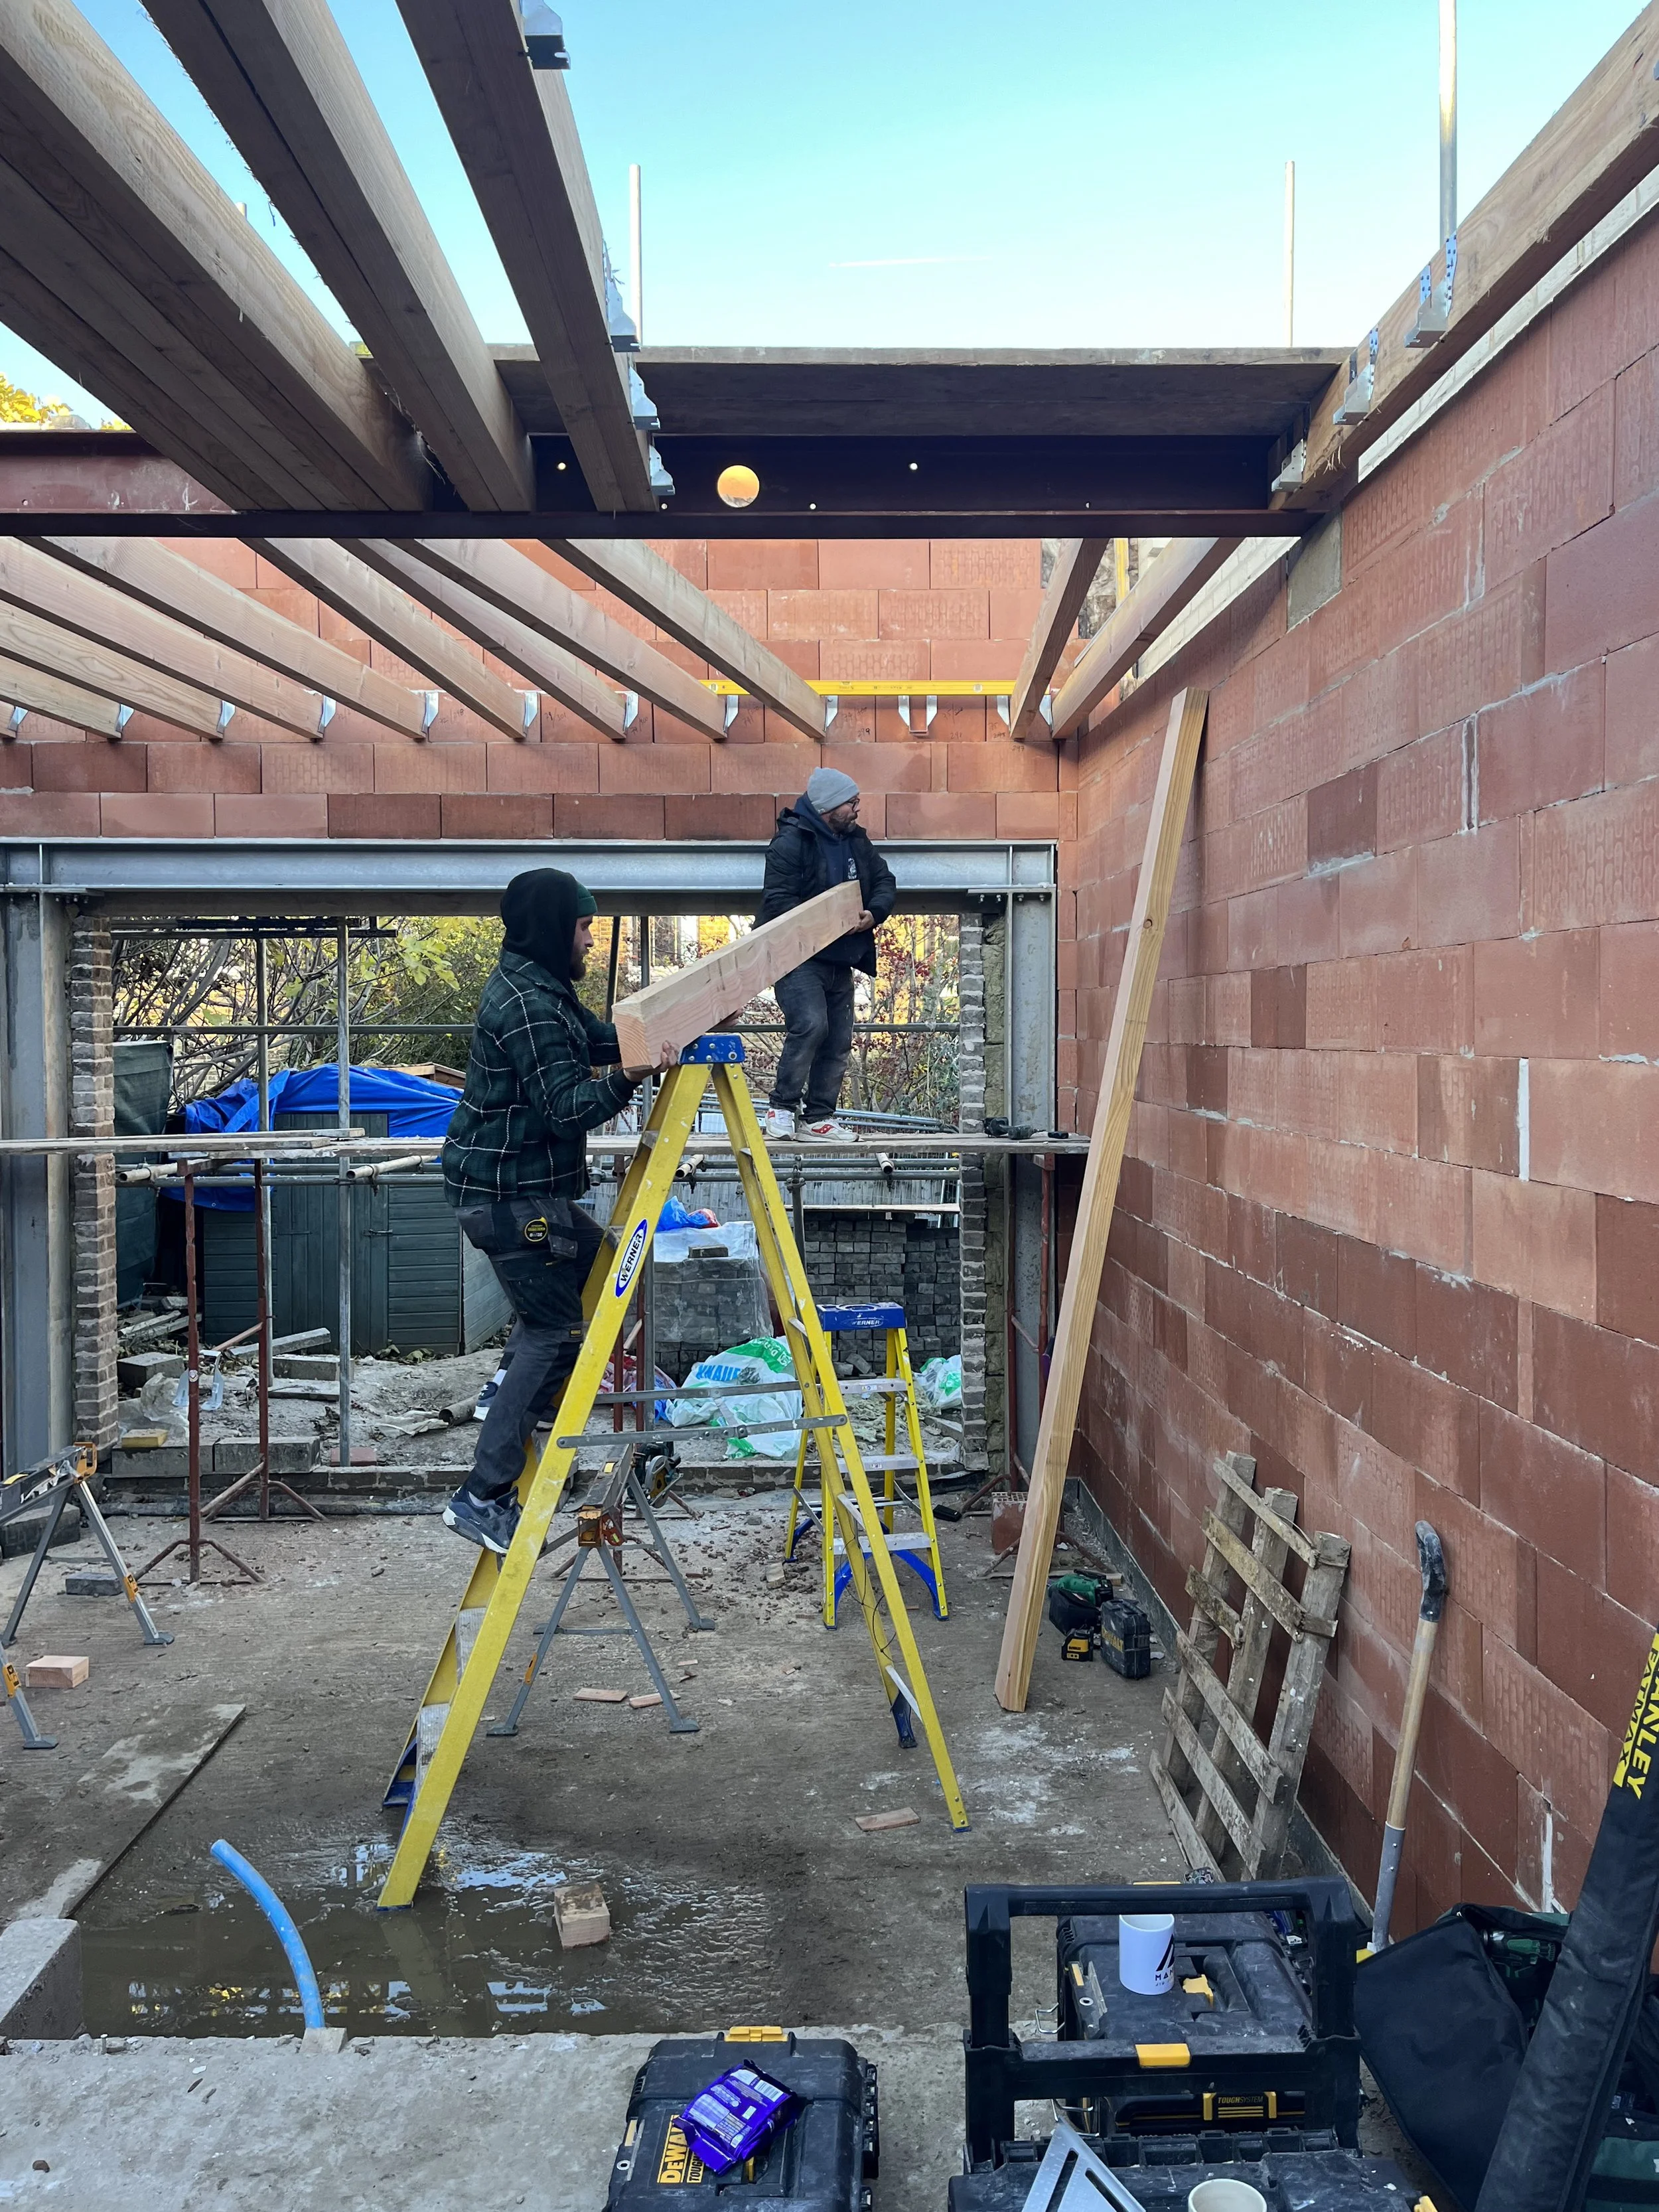
The house is deliberately legible, with larch joists and clay blocks left exposed. This was both an architectural decision and a cost-saving one. By leaving finishes exposed, we reduced materials, reduced trades, and reduced the number of things that could go wrong. It also makes the building easier to understand and adapt over time.
The structure is traditional, but we used Porotherm clay blocks to reduce embodied carbon and improve thermal performance. That choice required the right bricklayer. We brought in experienced trades where failure wasn’t an option, but much of the work happened slowly, often evenings and weekends, with me coordinating, learning, and filling gaps.

Optimising the budget
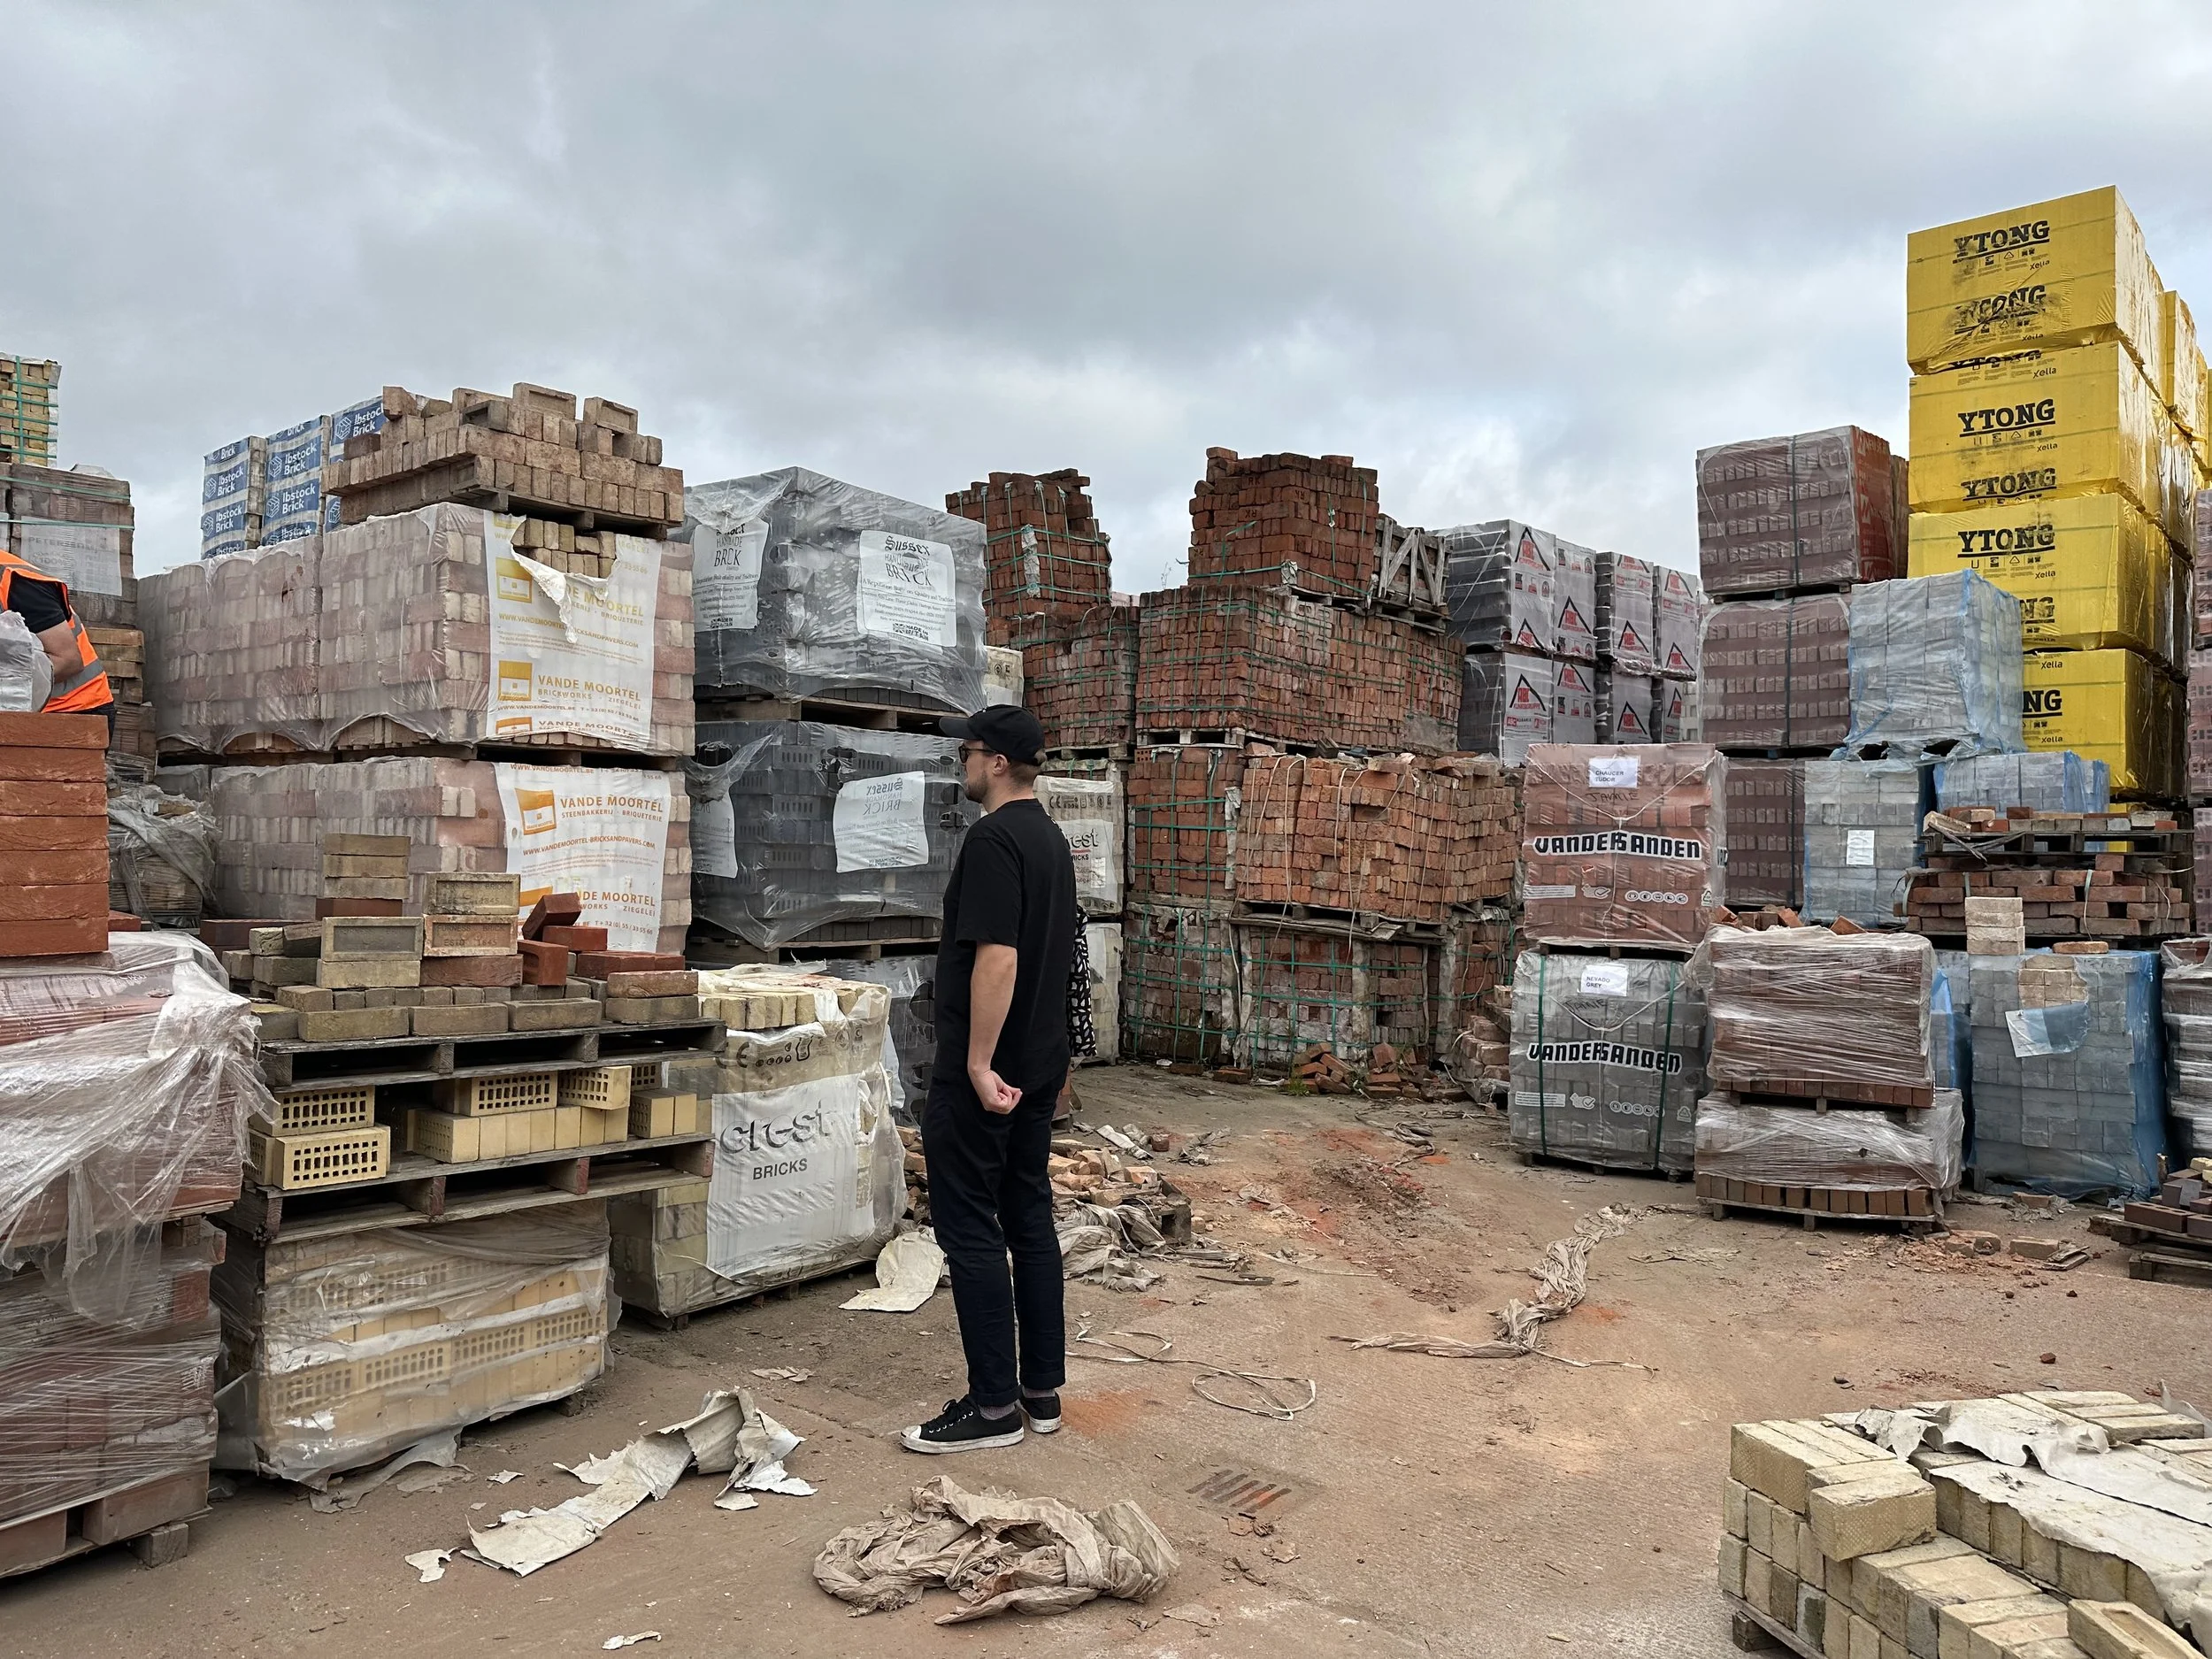
We saved money through labour and through material choices. The external bricks are Belgian, bought as surplus stock from a reclamation yard in Kent. The kitchen was built by hand from oak plywood and cost around £16,000 including appliances. We were able to afford better-quality equipment because we weren’t paying for a fully fitted system.
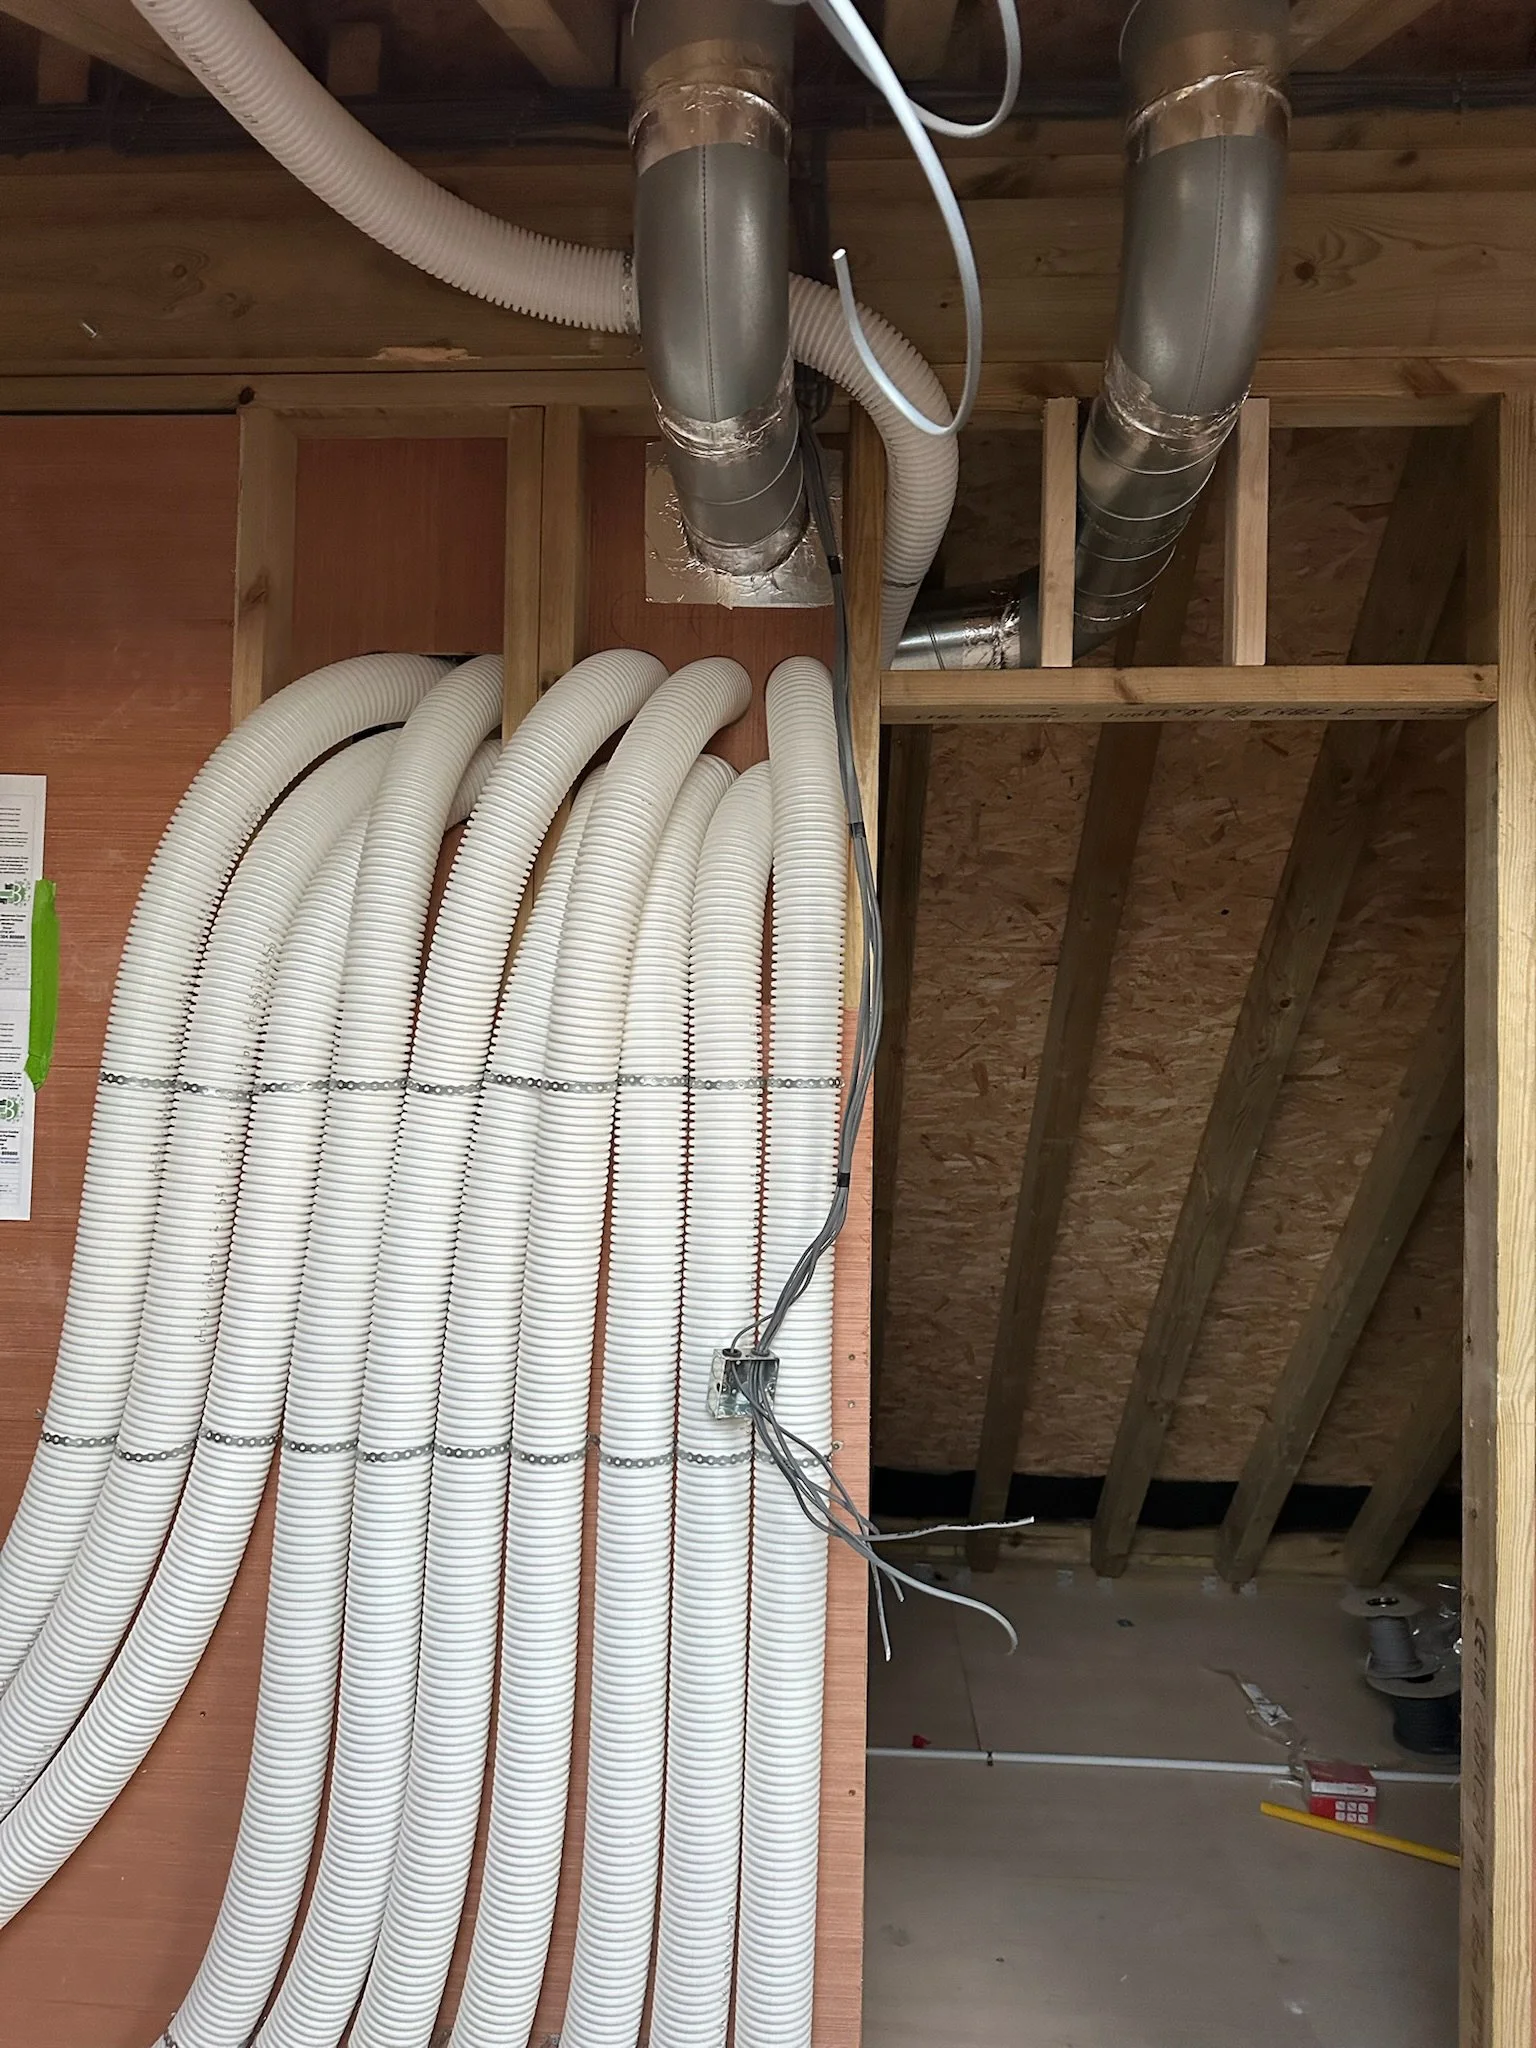
Where we did spend more than is typical was on performance. Insulation, airtightness, MVHR, triple glazing and durable materials like Ketley brick floors don’t always show immediately, but they shape how the house feels to live in and how much it costs to run. If budgets are tight, this is still where we would focus spending.

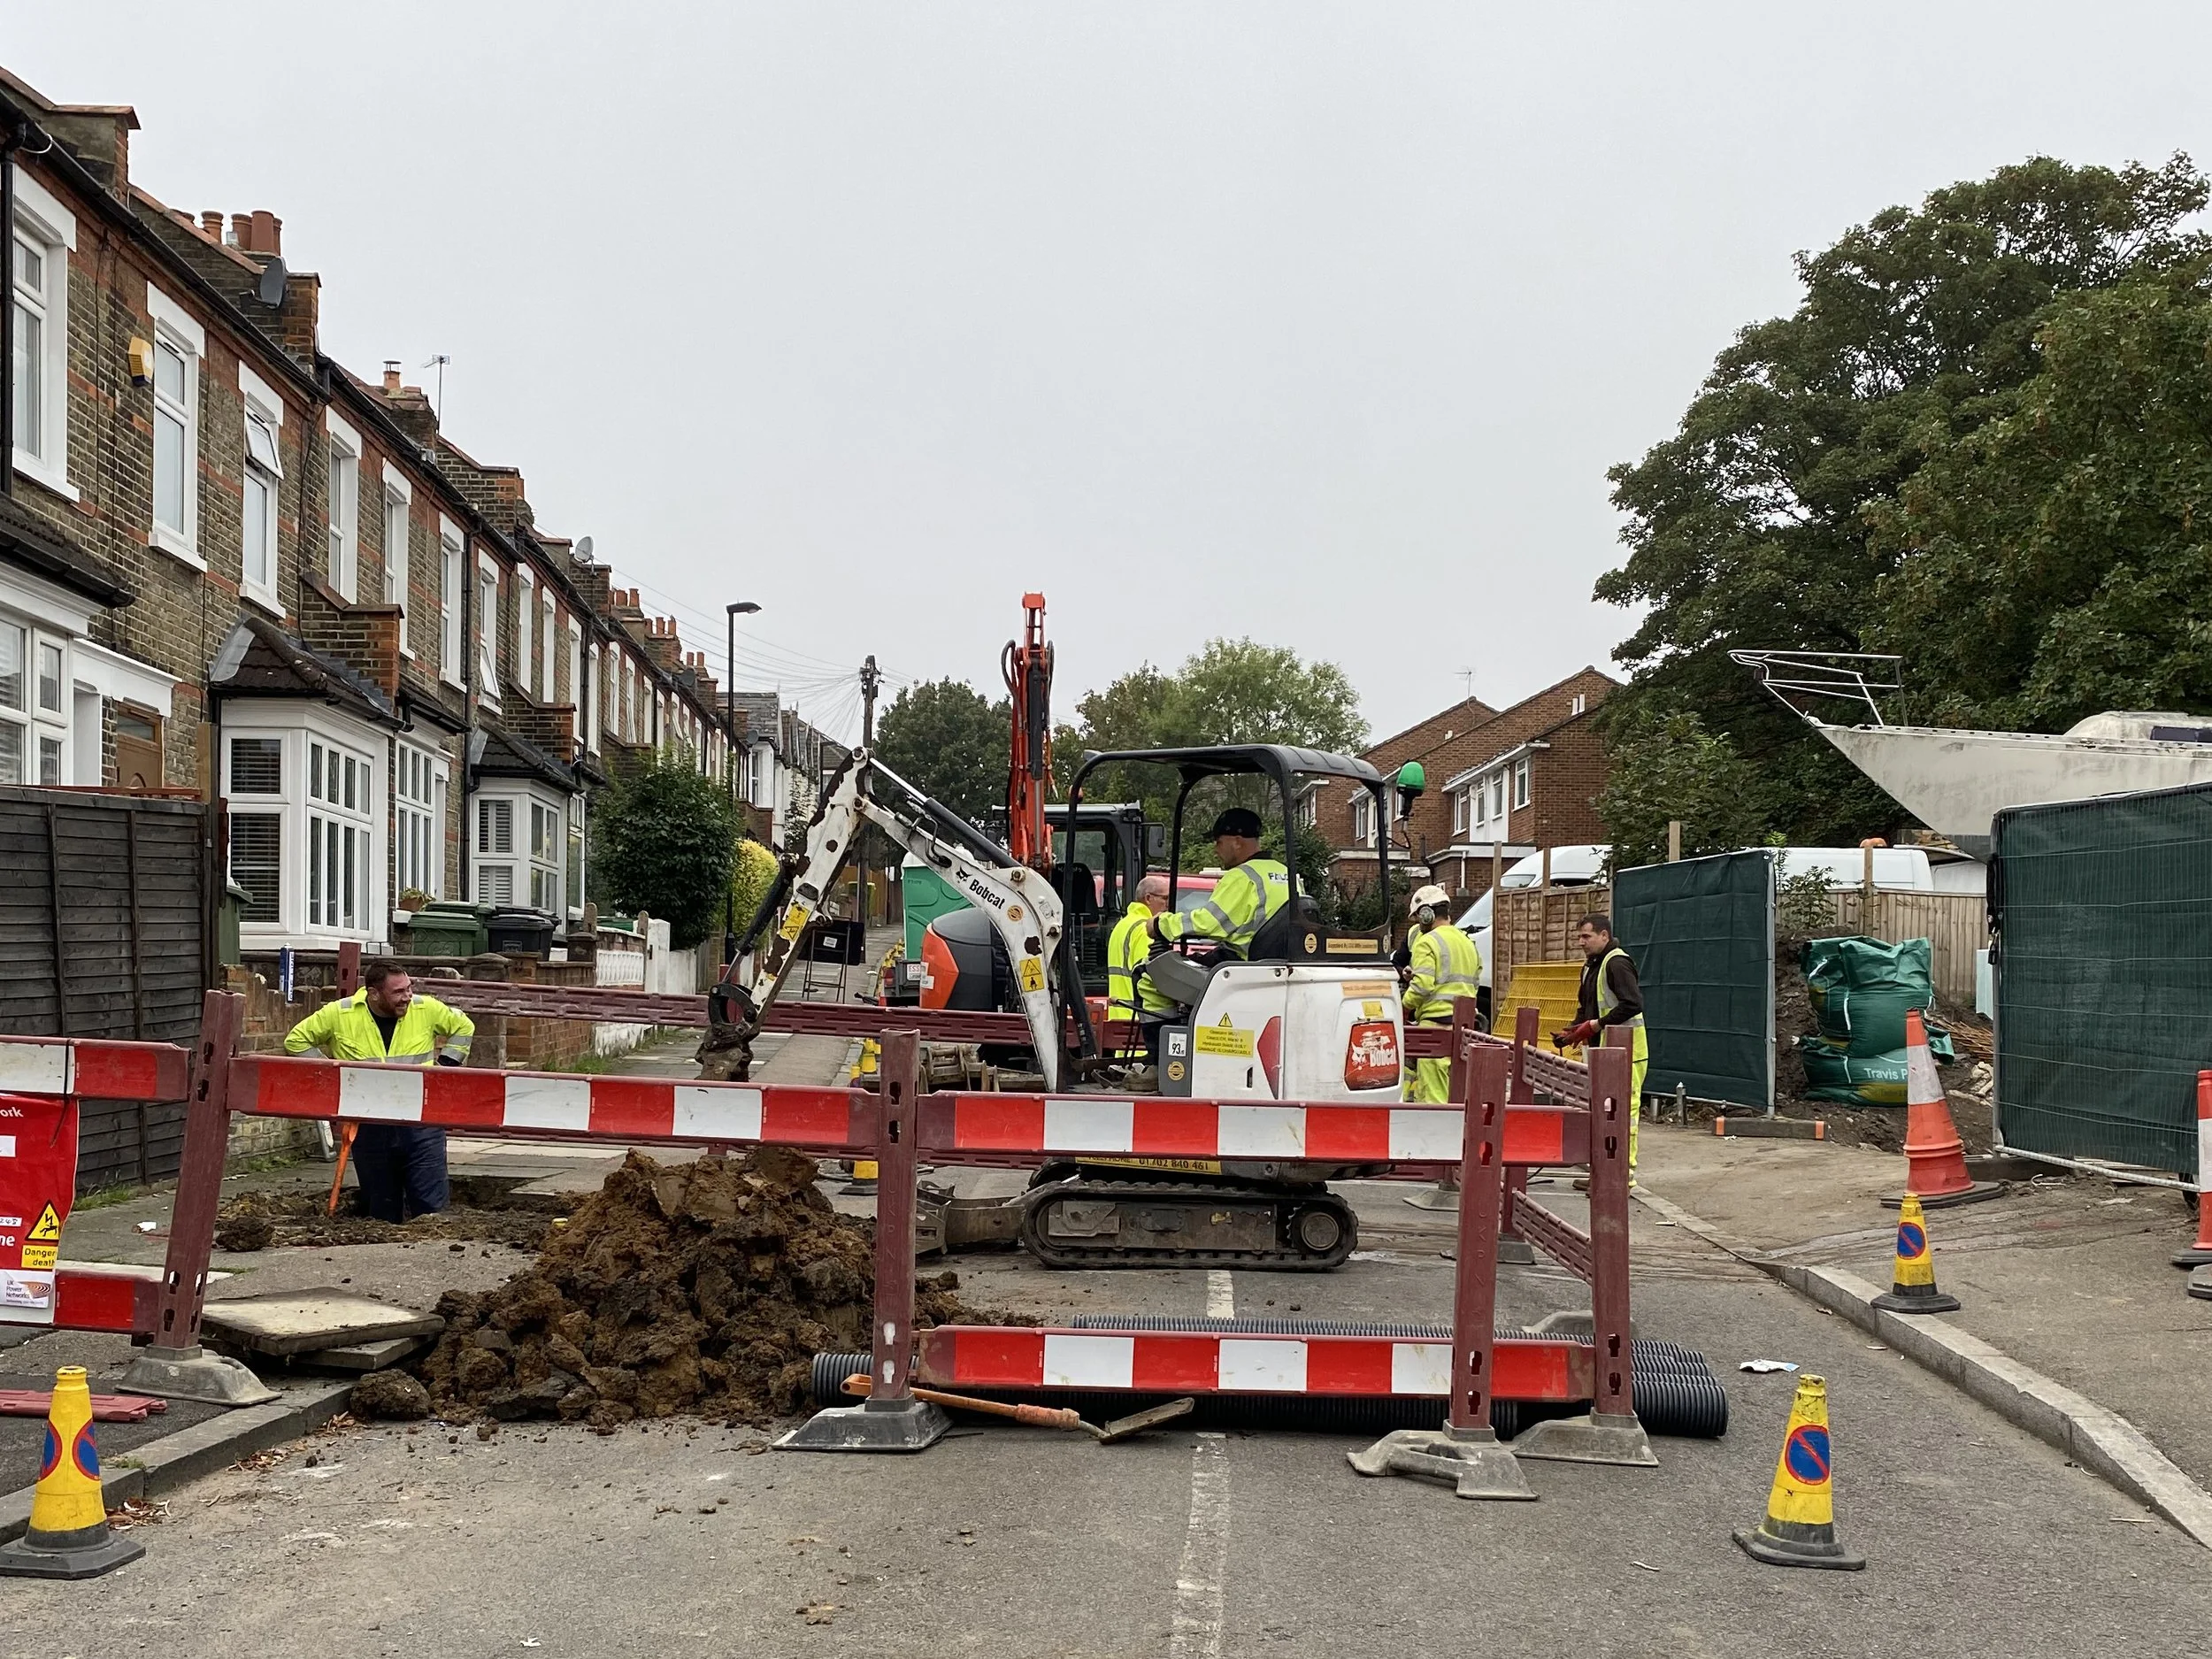
Programme, funding and living through it
We started on site in September 2023 and moved in roughly a year later, once we had practical completion from building control. At that point the mortgage could transfer onto a standard product with a lower rate. The house wasn’t finished and took another year to complete alongside normal life. The final stretch always takes longer than expected.
The project was funded with a self-build mortgage through Furness Building Society, brokered by BuildStore. The initial interest rate was around 7.1 per cent, but this reduced to 6.4 per cent because the house qualified as an eco-build. To access the discounted rate, we had to demonstrate predicted energy performance, expected water usage and fabric performance at design stage, with specific thresholds that needed to be met. Requirements included triple glazing, an air source heat pump and a strong fabric-first approach, all of which needed to be embedded early.
Where to live and how to cover the cost
Funds were released in stages following inspections, and we were required to ring-fence around £20,000 to £30,000 for rent during the build. Living arrangements were disruptive and expensive. We moved several times. This aspect of self-build is often glossed over, but it needs as much planning as the construction itself.
We were fortunate to rent the house opposite the site, a connection made during neighbour consultation. Without that relationship, the project would have been significantly harder, particularly with a small child. Its definitely worth trying to live as close as possible, and whilst we didn’t seriously consider it, we can completely understand people using a caravan during the build!
A benefit of our self build mortgage was that it had advanced payments, which is quite normal. That meant as an example, we would be paid a lump sum to cover each stage of work - e.g. the groundworks as the first item. The amount paid was broadly in line with what it would cost to contract out that work, and pay for the materials, and so with some project management done yourself, and some of the work, we were able to carve out money to live off (as I was working less) and typically also cover the mortgage repayments during that period. Running the build in this way meant we were under pressure, but it didn’t feel particularly like financial pressure, more a real incentive to keep going and not let the programme slip, rent and mortgage payments on a stalled build would really stack up quickly.
Bringing it all together
In the end, we built a three-bedroom house of around 105 square metres for less than nearby Victorian houses of a smaller size, and with far better thermal performance. It’s not something we could have bought on the open market. We don’t plan to sell, but if we did, the uplift would be substantial, even before accounting for our time and reduced income during the build.
More importantly, building the house changed how I practise as an architect. Being responsible for everything, from planning strategy through to fixing mistakes on site, sharpened priorities and led directly to setting up Bricolage. That experience now shapes how we work with clients, particularly those looking at small, awkward or overlooked sites.
Self-build isn’t a shortcut and it isn’t for everyone. It demands time, patience and a tolerance for uncertainty. But on small urban sites, it can be a direct way of making good housing and staying in places that might otherwise feel out of reach. Knowing the numbers, the risks and the trade-offs from the start makes all the difference.
If you’re starting to think seriously about a self-build project, we’re always happy to talk through whether it stacks up. You can see more image of the finished house here!